
Category filters are a series of named filters that the operator can activate or deactivate freely in order to limit the number of records shown in the Records pane.
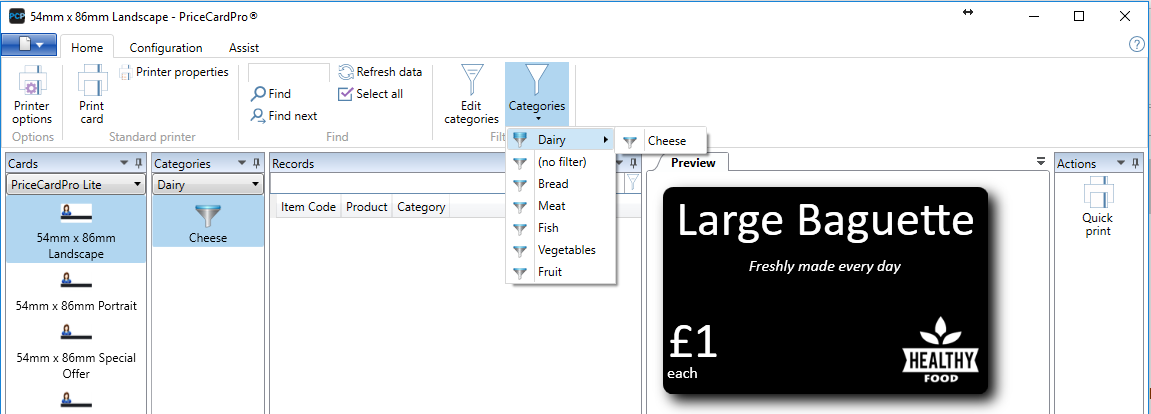
The filter names are shown as buttons in the Categories pane of the main interface. By clicking on the filter button with the text (no filter) all filters are deactivated.
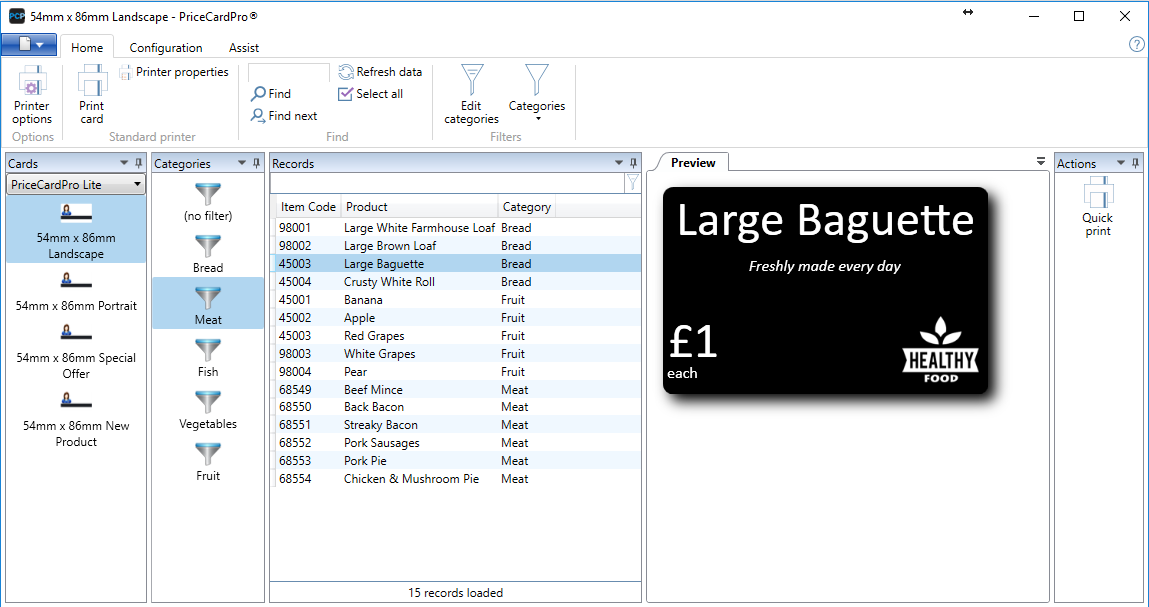
Adding Category filters starts by clicking on the Edit Categories button in the Filters section of the home tab.
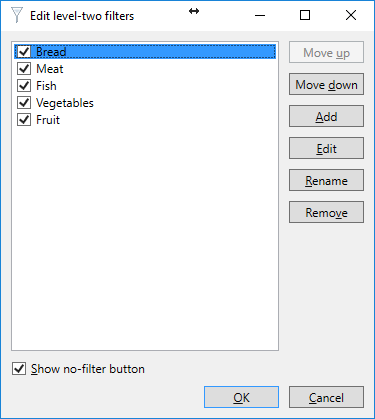
The Window that opens manages the different created Category filters. This manager offers you the ability to add or edit existing filters, rename or remove them, or change the position in the Categories pane of the main interface by moving them up or down. By selecting the 'Show no-filter button' the user will also have the option to view all records by selecting the (no filter) button.
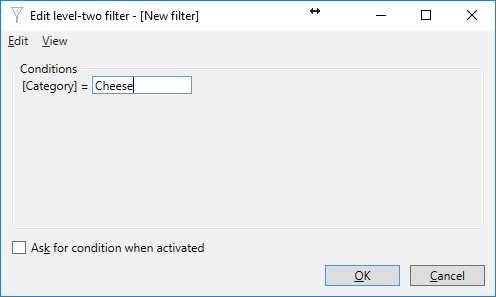
To add a new Category filter, simply click on the add button and the below window will be displayed.
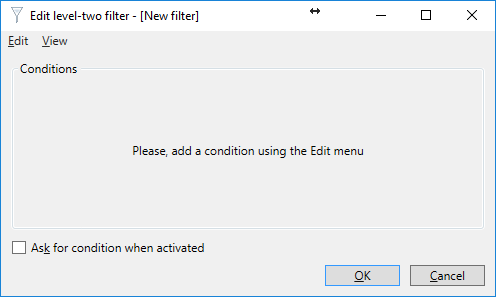
Now, you can add a filter condition with the menu option Add conditions in the Edit menu (you can also press the Insert key). A screen will be shown in which you can choose the database column and functions and operators to use in your filter. In the example below the column Category is used for filtering, without applying any database function. The result is compared to the entered value using the is-equal-to operator.
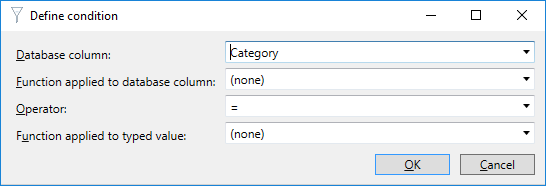
After clicking OK, your window will look similar to the one shown below.
It is also possible to Add, Change or Delete your conditions.
In fact, there is no limit on the number of conditions. Each condition will have its own field in which values can be entered. When using multiple conditions, the following rules apply:
•If you leave a field empty, the condition will not be applied,
•If you enter values for more than one condition, only records are selected that meet both conditions,
•If you type null or NULL and the operator is = or LIKE, only records are selected for which the database column contains a null value,
•If you type null or NULL and the operator is <>, != or NOT LIKE, only records are selected for which the database column contains a value,
•If you type null or NULL with another operator, no records are selected.
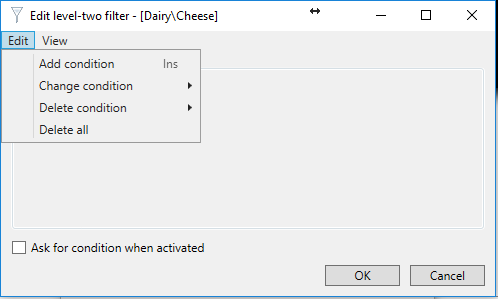
Just select Add Condition, Change Condition or Delete Condition from the Edit menu. You can also Delete All at once.
Please visit the "Tips and Tricks" section of this Help file for more information about configuring filters.
With Category filters you can also define that a condition needs to be asked when the filter is activated. In the screenshot you see that "[Category]=cheese". When we check "Ask for condition when activated", a window will pop-up asking you to enter the condition for the filter. After clicking OK, you will be prompted to enter a name for the filter.
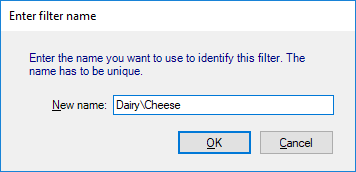
When entering a name for the filter, just like with the card templates, also the filters can be divided into groups. As in the screenshot above, everything before the backslash '\' is considered to be the Group Name and is selectable in the drop down menu directly under the Categories pane of the main interface. Everything behind the "\" is considered as the name of the filter appearing as the button. Of course you can also directly enter only the name for this defined filter.
Click on OK to save the filter, the filter will be shown in the Categories pane of the main interface. The defined Category Filters are also available via the drop down menu in the Filters section of the Home tab.
Furthermore, the filter will be applied, showing you how the defined conditions actually affect the data in the Records pane.
