
Using the wizard is in most cases the best way to go. This will give you a complete designed card-template including database connection, logos, database fields, Barcodes etc...
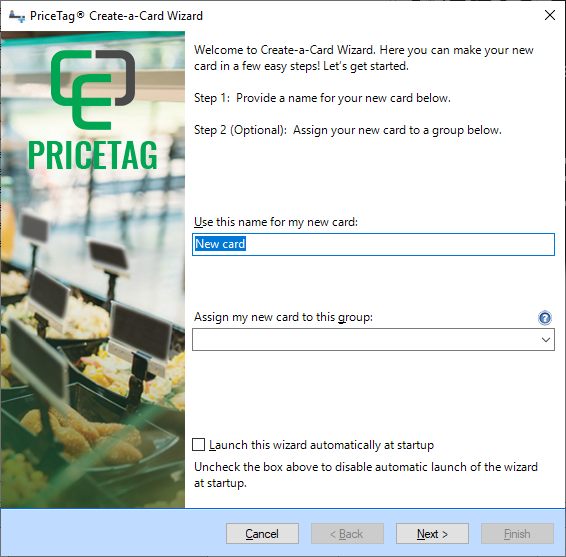
Step 1
First you need to specify a name for the new template, you also have the option to select an existing group for the template or to create a new group.
You can also leave the group option blank. When done, click next to proceed.
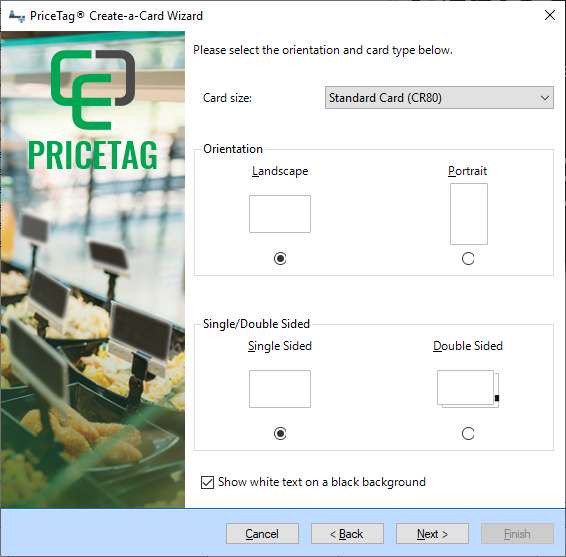
Step 2
In this page you need to select the card size and the orientation needs to be set, also if you want to create a single or a double sided card-template.
When choosing extended card sizes, the option for double sided is disabled as this is not possible with the Duo or Flex printers.
You can also choose to have white text showing a black background for the card preview which is the default option.
When done, click next to proceed.
Step 3
If you wish to add a logo to the card design, check the box and then browse to the image file.
A preview of the logo will show on the screen, once happy click next to continue.
![]()
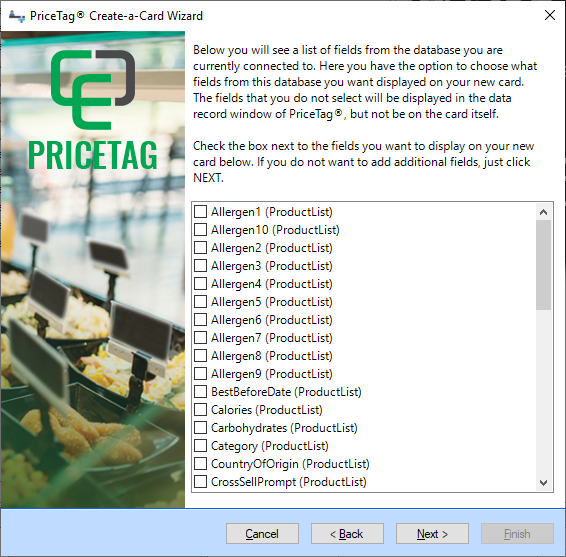
Step 4
On this page all the available columns from the database are made available for you to select. To add the field to your design, just click on the check box before the column name.
When all the needed columns are selected, proceed by clicking next.
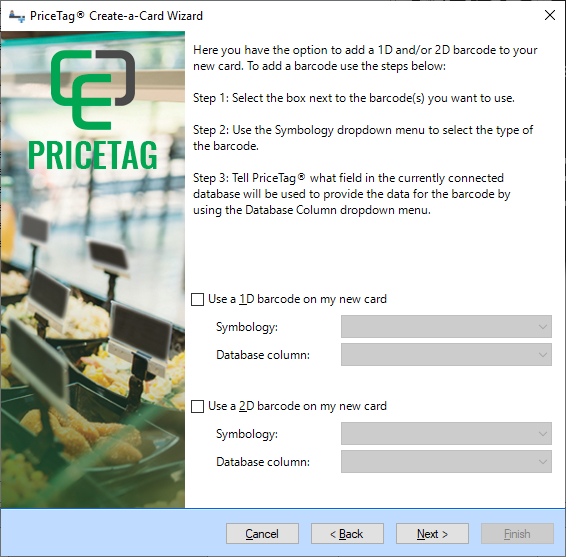
Step 5
1D Barcodes and 2D Barcodes are available to add to the card design if required. We offer a large variety of Barcodes including all the standard symbologies.
The Barcode symblogy can be selected from the drop down menus as well as the database column that contains the information. Last step to take, click next to proceed.
Step 6
CardExchange® PriceTag has now all the information to generate the card-template and as soon as you click on Finish, the template will be generated.
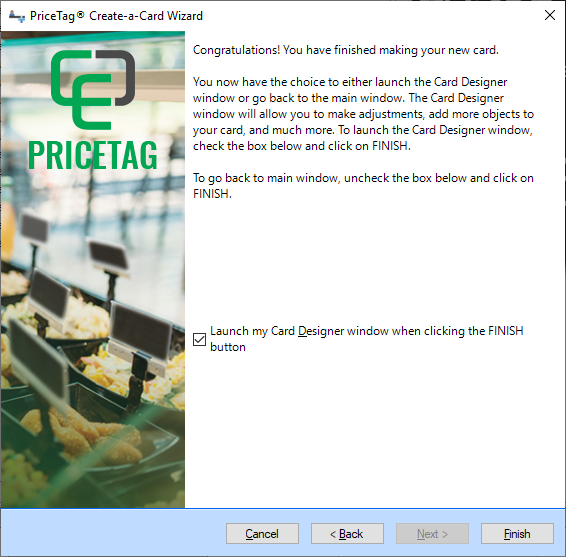
If you have the check box selected, the Designer will open offering you the possibility to make adjustments to the created design, if not, the card will be directly show in the Main Interface and the database, if applicable, will be loaded and shown.
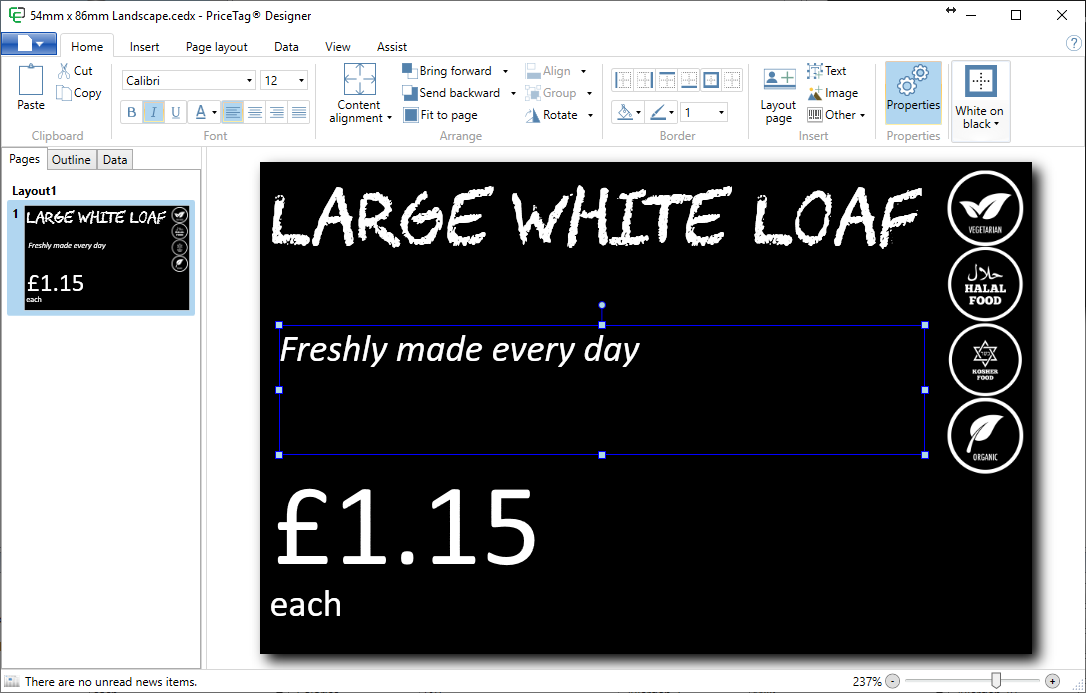
More information about editing the design can be found in the "Using the Designer" section of this Help file.
