
The MySQL installer is available on your CD that you received from your reseller. You can also download the installer directly from the MySQL website via the link below:
https://dev.mysql.com/downloads/mysql/
When executing the installer, the first step is to accept the terms and click Next.

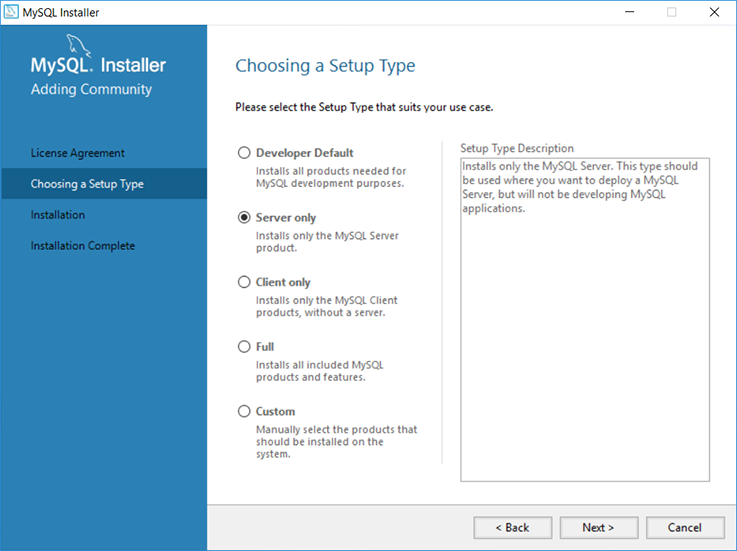
As we only need the Server functionality, in this manual we will only explain the installation and configuration of the MySQL server. Refer to the MySQL website when other options are selected as described in this manual. Now select Server only option and click Next
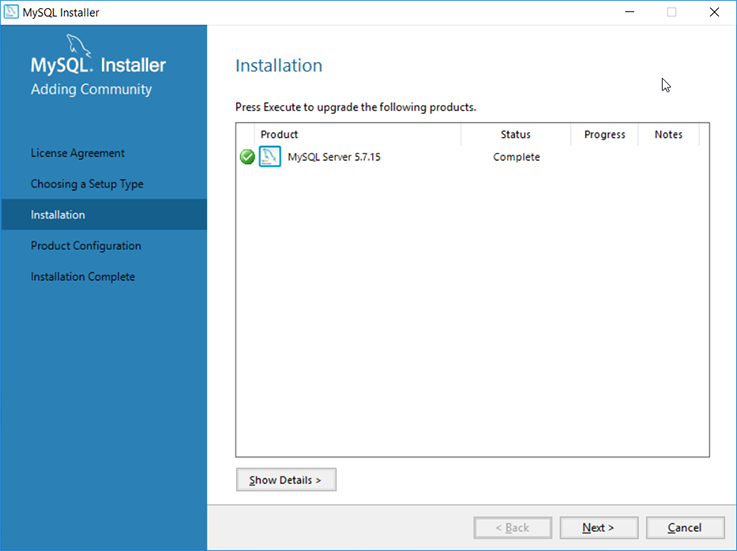
Just confirm what is going to be installed and Execute the installer by clicking Execute.

When the Server is installed on your system, the Complete message will be shown. Click Next to proceed to the Server configuration.
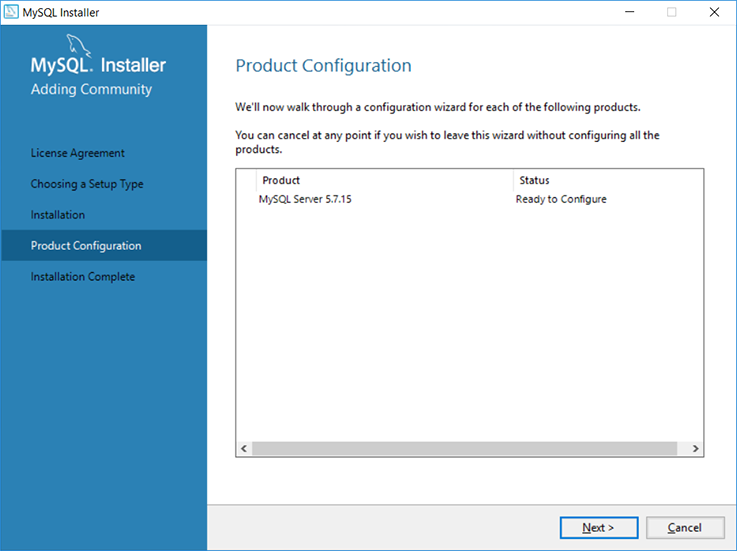
Click Next to step into the Product Configuration wizard.
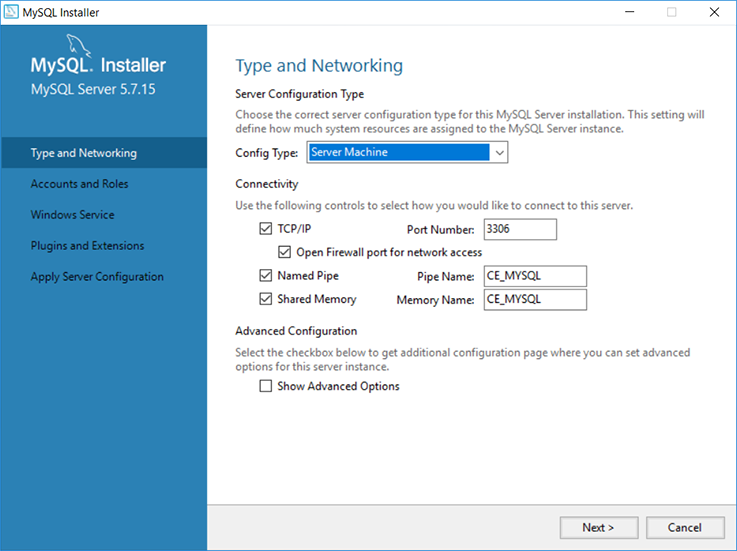
In this section we are providing specific information for the network. It will determine how your server will be accessible in your network.
For the Config Type we select "Server Machine". In the Connectivity Settings we enter the port number for the TCP/IP as well we indicate to have firewall network access. The port number is default to 3306. Please contact your system administrator if you need to change the default port number or enter the port number if you know what it needs to be.
You need to give your database a recognizable network name in the section Named Pipe and Shared Memory. Proceed to the Accounts and Roles by clicking Next.
In the Accounts and Roles section we start with providing a Password for the Root Account of the database server. Make sure you store this password in a secure location and make it a strong password.
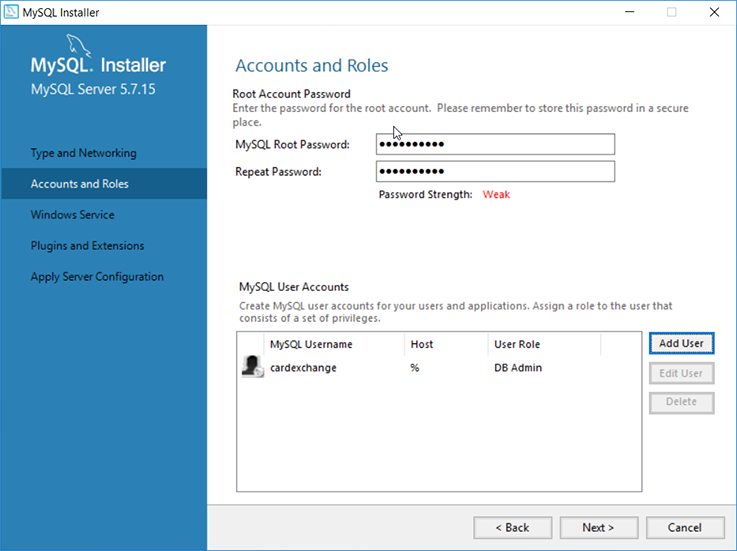
Next you need to add a user account to the database server by clicking Add User. In the MySQL User Details window you provide the username and the password. Set the role to DB admin and leave the Host as default and click on OK to confirm the User and press Next to proceed.

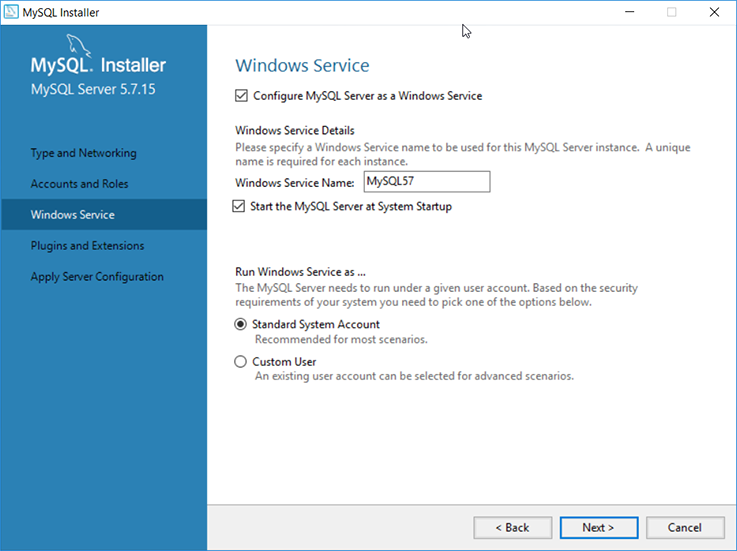
In the Windows Service section of the installation we select that the MySQL server will act as a service and that we want to start this service at system startup. You can change the Windows Service Name but it is not needed for the purpose of CardExchange® Visitor installation. We advice to have the service running as a Standard System Account. When done, click on Next to Proceed.
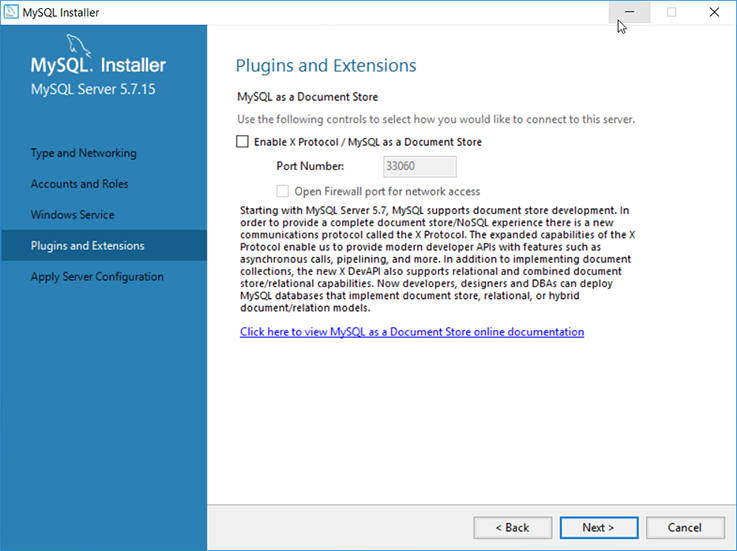
In the Plugins and Extension section, nothing has to be selected or changed for the use of the database server with CardExchange® Visitor so click Next to proceed.
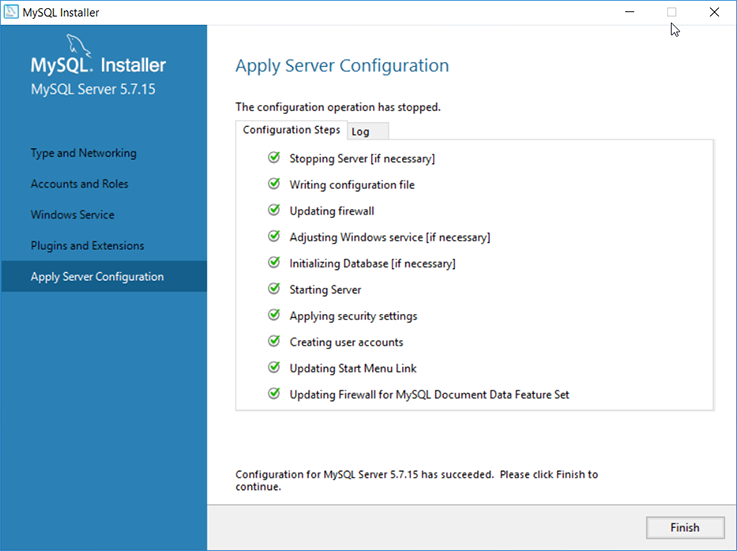
After all the wizard pages are applied, we need to execute this configuration so click Execute to proceed.

During this process, the wizard will show all the processes being executed.
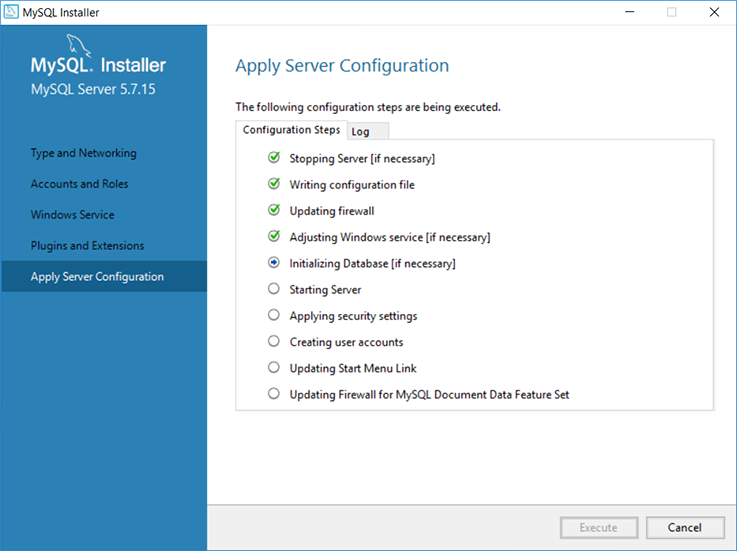
And when all settings are executed, you can click Finish to proceed to the last step of the installation.
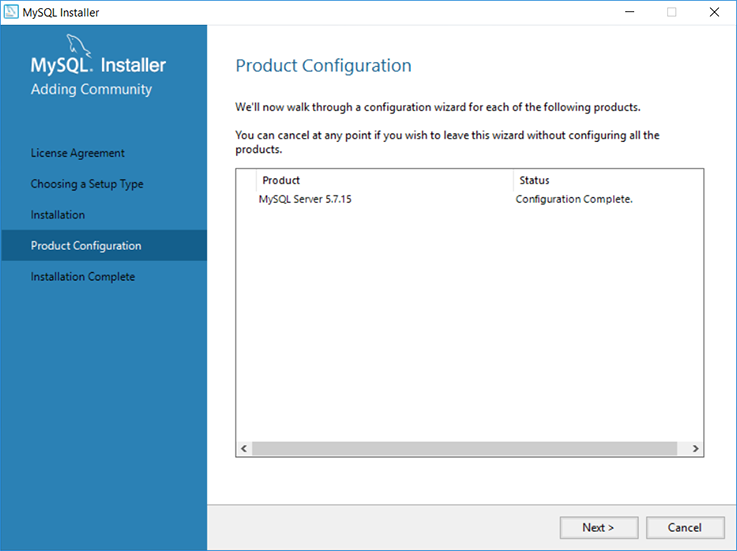
Back in the Product Configuration section, you need to click Next to proceed.
And click Finish to end and close the installation.
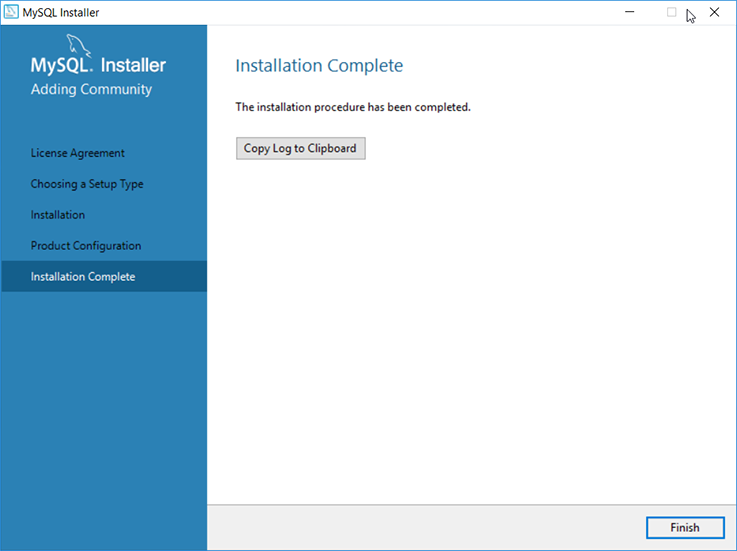
When the installation of the database server is successful, you can proceed to the setup of the database.
