
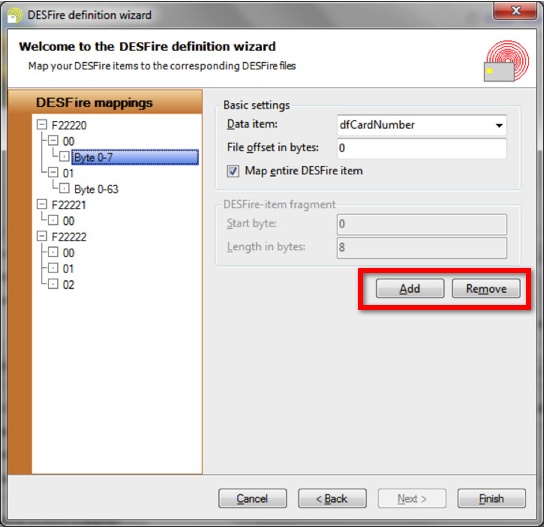
Now, your DESFire items, applications and files have been defined, the only thing that remains to be done is mapping the bytes of the DESFire items to the bytes of the DESFire files which is done at this last wizard page.
On the left-hand site, all DESFire files are listed. By selecting the DESFire file and clicking the Add or Remove button, indicated with the red rectangle, you can add file fragments to each file. For each file fragment, you select from which Data item it will contain data and with the File offset in bytes you indicate where in the file the file fragment starts. If you select Map entire DESFire item, the entire DESFire item will be mapped to the file, starting at the indicated offset position. On the contrary, you have to specify which part of the DESFire item needs to be mapped, by setting the Start byte and the Length in bytes.
In many cases, you will want to map an entire DESFire item to an entire file. In that case, you add a single file fragment to the file, set the File offset in bytes to zero and select Map entire DESFire item, as in the above screen shot. The length of the DESFire file and item will need to be the same. The DESFire definition has now been configured.
When clicking on Finish, the wizard will prompt whether you want to hide the keys. If you click yes, the keys will not be readable anymore the next time you open the wizard. We recommend waiting with hiding the keys until after finishing the test phase, when you are sure that all keys are correct. Once the keys are hidden, they CANNOT be made visible anymore.
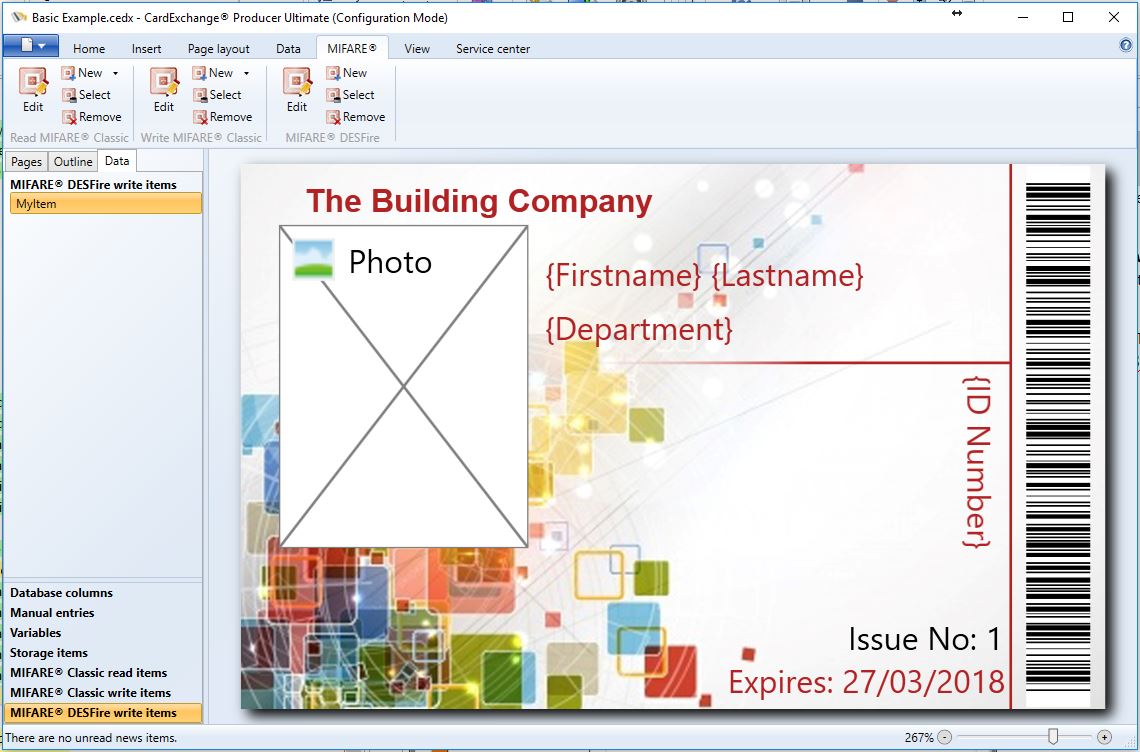
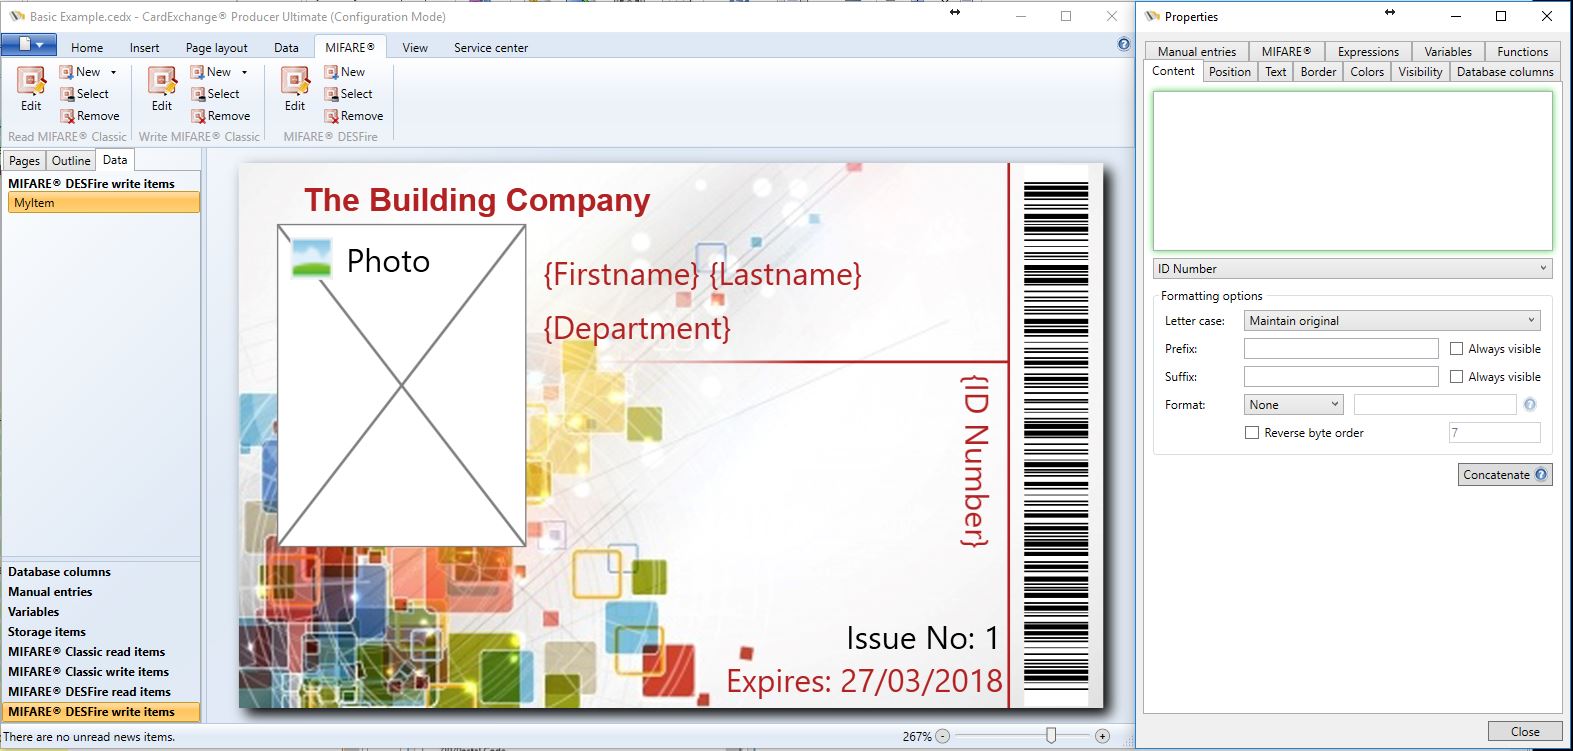
It is still necessary to map the data of the DESFire Items to database fields, card objects, storage items, etc. This can be done under the data tab of the explorer menu in the card designer and we refer you to the corresponding section for more information. Once your DESFire definition is configured, the DESFire write Items will be available in the data tab of the explorer menu, as shown below:
You can now choose the MIFARE®DESFire UID as a data source object from the drop down under the properties windows,
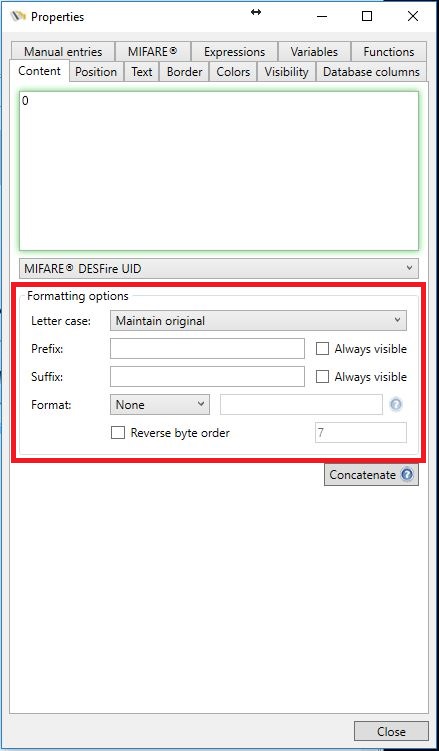
The UID can be formatted with a Reversed byte UID number. When selecting the MIFARE® DESFire UID from the drop down menu you will have access to some advanced Format options as indicated with the red rectangle. For the UID you can assign a minimum number of digits, you can set the UID to Hexadecimal, Reverse the byte order, and set it to Seven-byte UID.
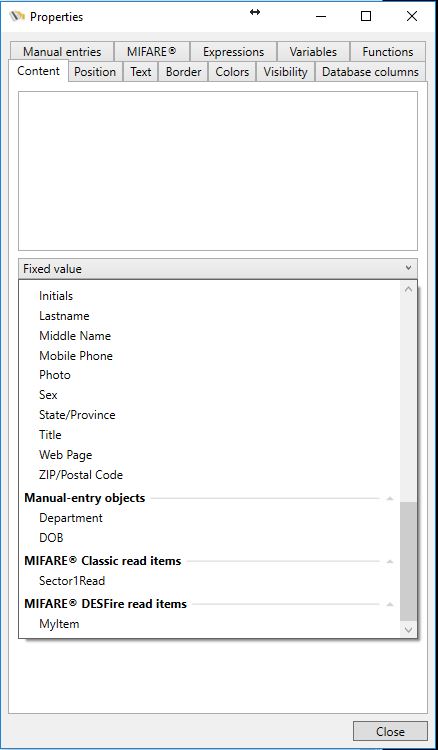
If the DESFire definition contains any read items, it is possible to map those read items to a text object on the card or to a storage item.
When writing data to MIFARE® classic cards, the MIFARE® write items are available under the data tab.
Just select the desired write item and then choose the source for the encoding from the drop down in the properties window.
