

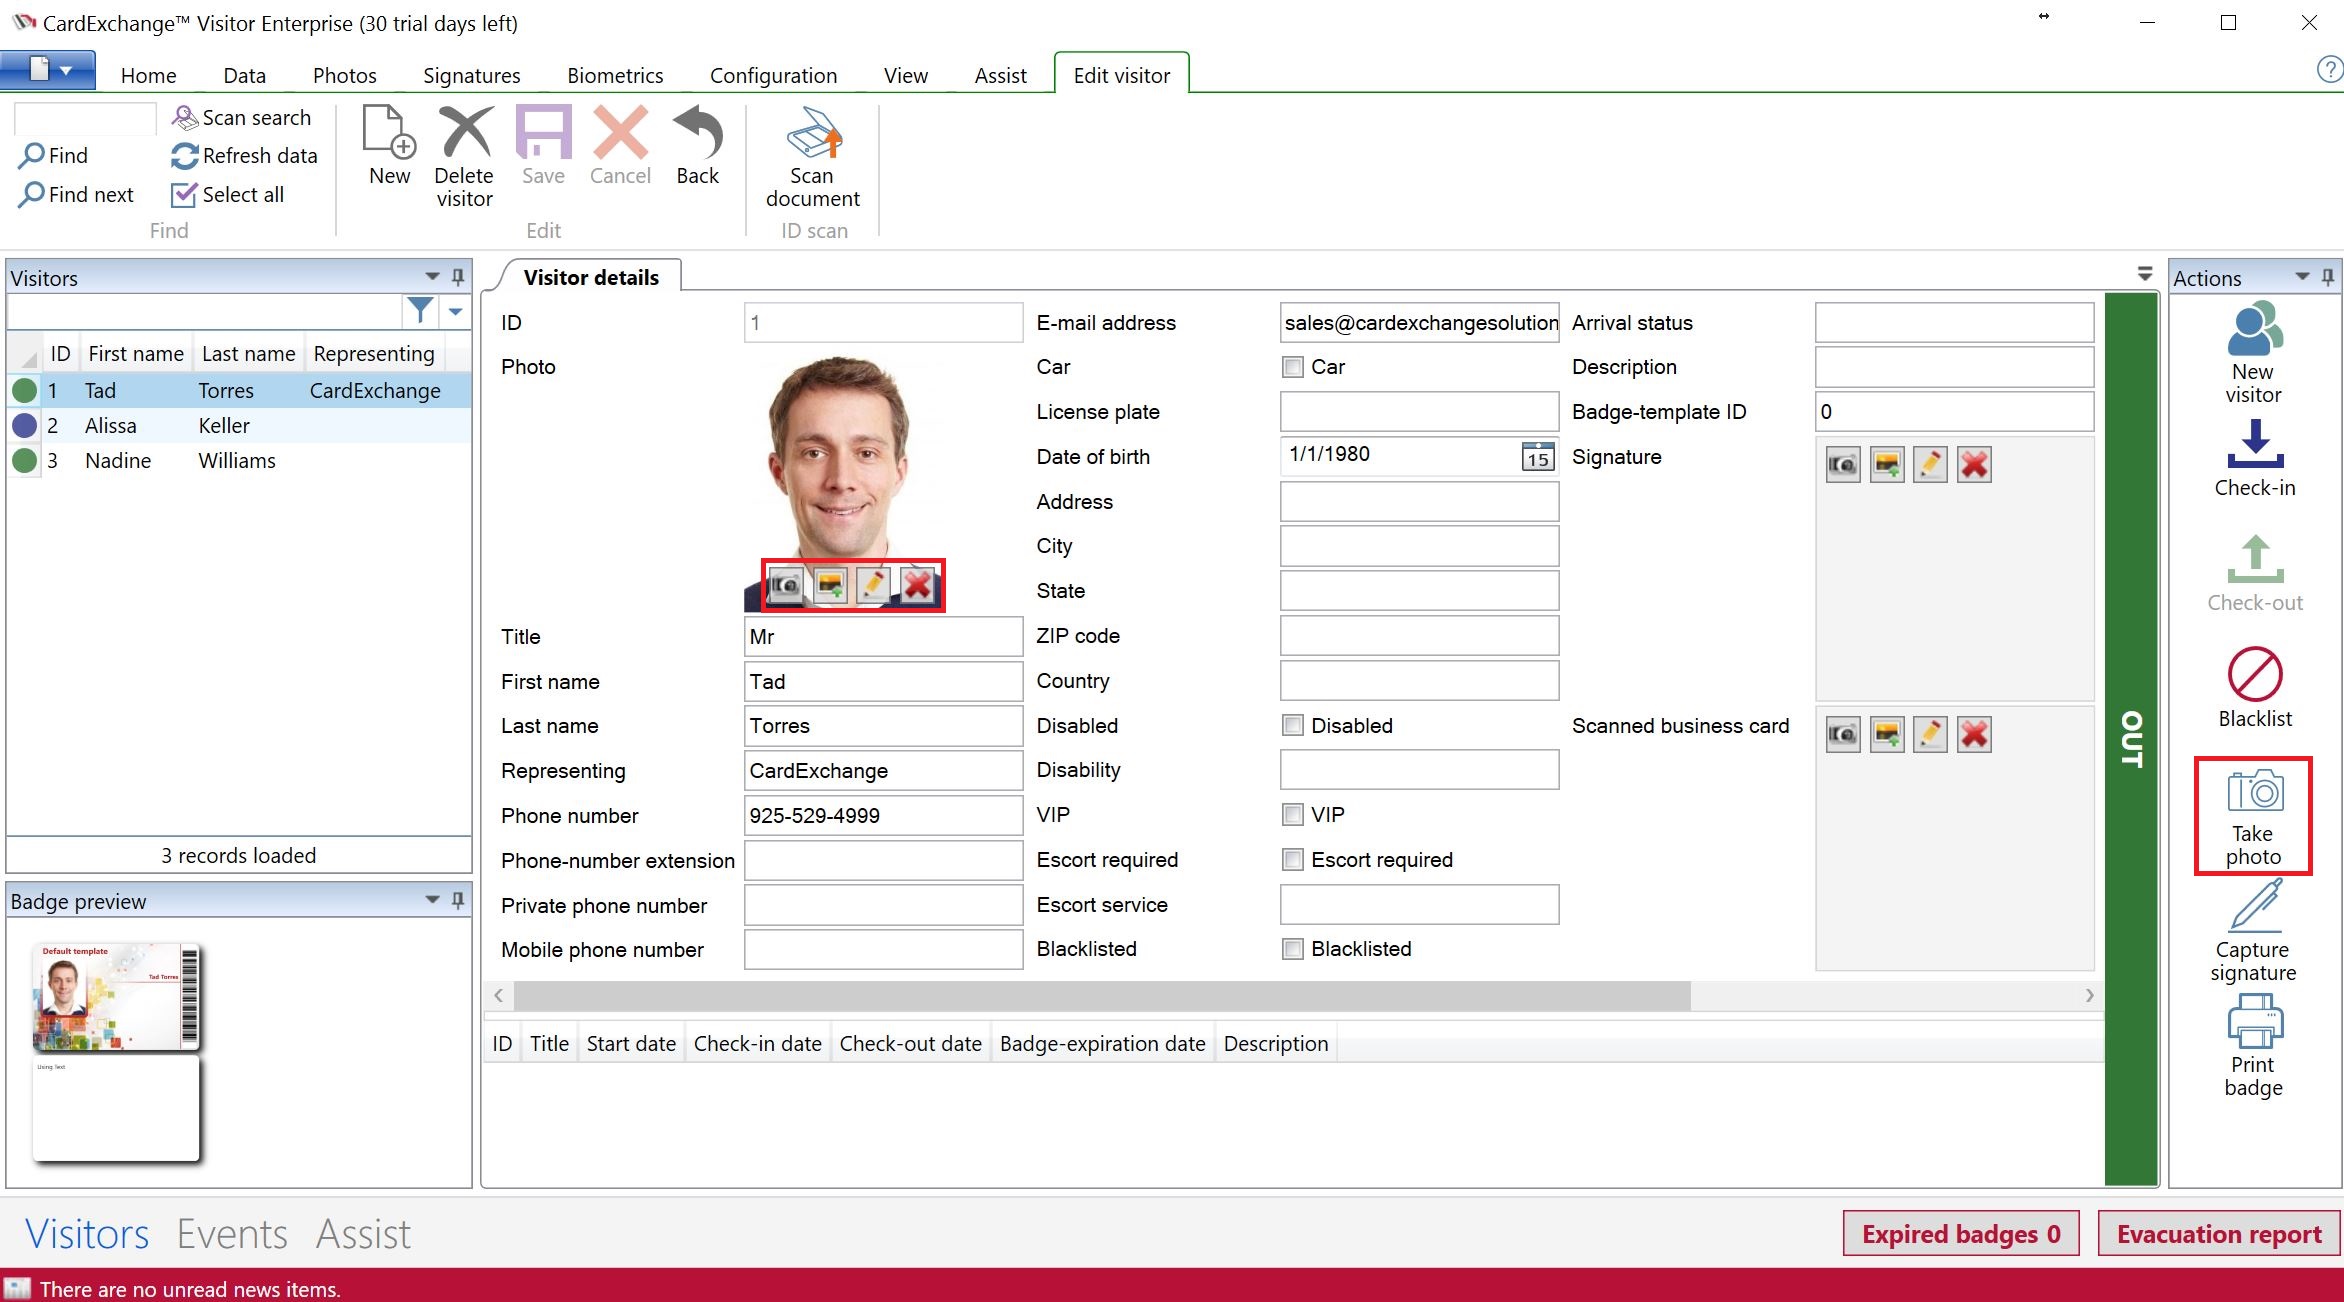
When you have selected the correct record, you can add a photo of the person to the database, or, if you want, replace the existing photo. This function is accessible in the following ways.
•Click Take photo button in the photos tab of the ribbon,
•Click Take photo button in the Actions pane,
•Click on the Take photo icon when adding/editing a visitor.
After you have taken the photo, you will enter the Image Editor window of CardExchange® Visitor, ImageExchange®.
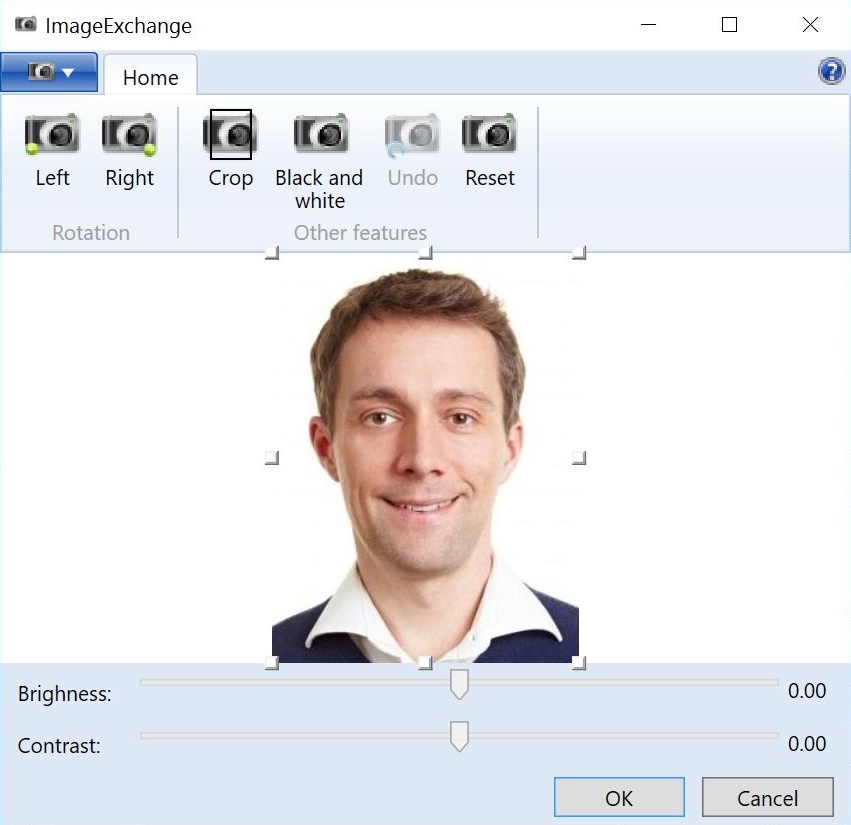
Please see the Using Image Tools section of this Help file for more information about using the ImageExchange® Image Editor.
If you click on the OK button, the photo will be automatically cropped and the Image Editor will be closed. If a photo was already available in the database, CardExchange® Visitor asks whether you want to update it. If you click Cancel, the original photo will be restored on the print preview. You can disable this option in the Photo tab by unchecking the Use Image Editor check box.
