
To install the Kiosk Client you will need to run the same installer that you used already to install the standard installation.
The CardExchange® Gateway installation wizard starts with the welcome page, now click Next to proceed:
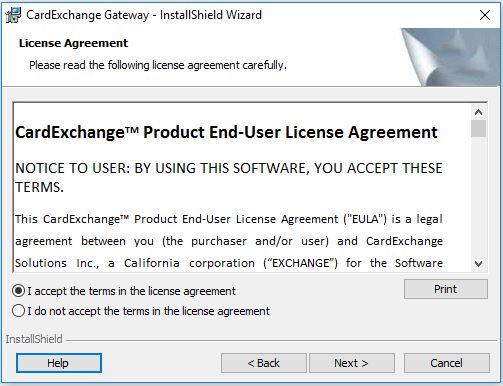
In this wizard page, the License Agreement is presented. You can click on the Print button to print out the complete text of the agreement. If you agree to the terms, please select the "I accept the terms in the license agreement" option and proceed with Next. If you do not agree, please select the " I do not accept the terms in the license agreement" and click on Finish. The installation will be canceled:
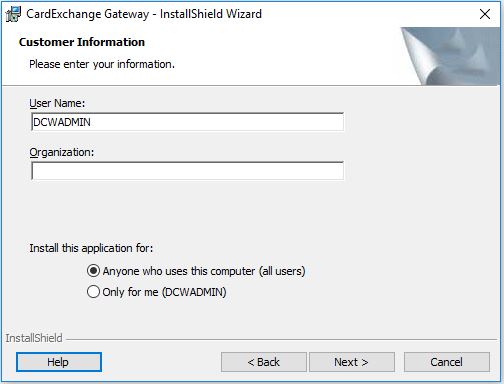
In the Customer Information page you can provide specific information like the user name and the organization. More important is to determine who is allowed to use this application. Here you can select the option "Anyone who uses this computer (all users)" which is default and we advice to use for standard installations. Especially important when multiple users have access and accounts on the target computer. Select "Only for me (user name)" if you want to make sure only this user has access to the application. Click Next to proceed:
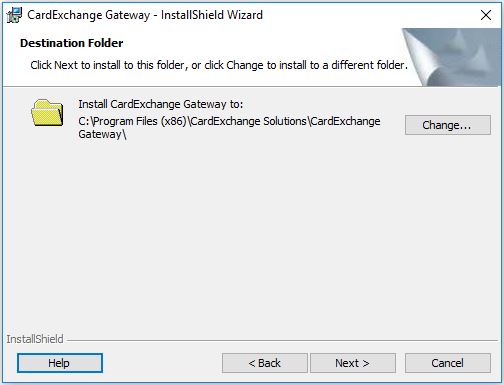
CardExchange® Gateway installations are compliant with Windows standards which means that by default the application is installed in the Program Files (x86) folder as shown in the screen shot above. The folder will be automatically created during the installation. Click on the Change button if you want to install CardExchange® Gateway on a different location. Click Next to proceed:
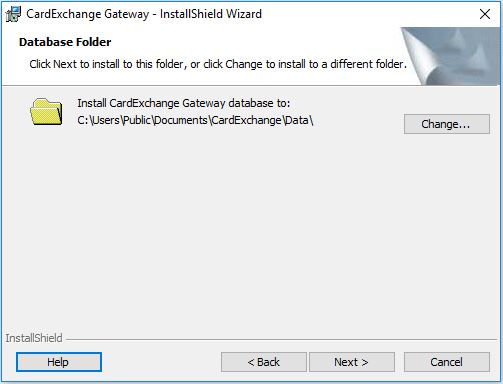
The Database folder of CardExchange® Gateway is one of the most powerful and flexible features of the CardExchange® Gateway application. It contains all your card templates, database, saved documents, etc. When installing the CardExchange® Visitor Kiosk Client, this path must point to the location of an already configured CardExchange® Visitor installation.
.jpg)
In the Setup type page you are asked to select the type of installation you want to proceed with. For CardExchange® Visitor Kiosk Client installations, please select the Custom option.
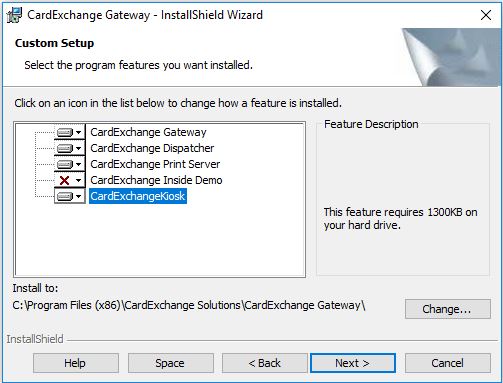
Here you can choose to install the CardExchange® Visitor Kiosk Client, you can also choose not to install CardExchange® Gateway as it is likely that you do not want to also use this on the same kiosk.
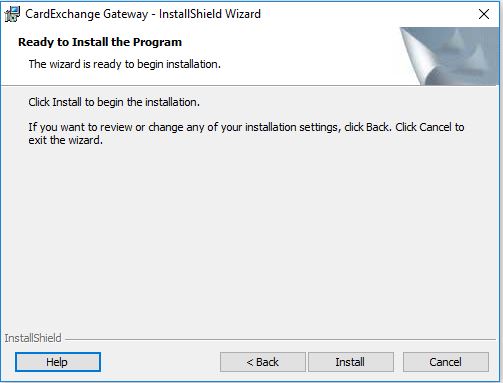
Now the installer has all the information to start installing CardExchange® Visitor on your system. Click Install to proceed:
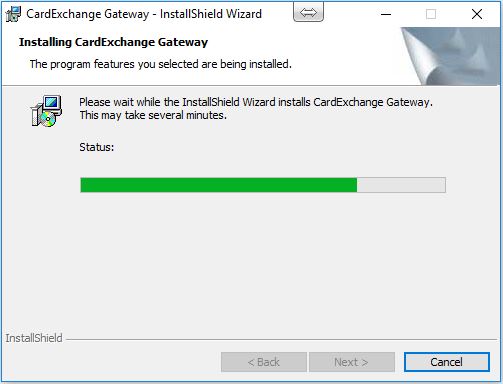
When the installation has succeeded, you can click on Finish to close the installer. Any temporary files will be removed from your system.
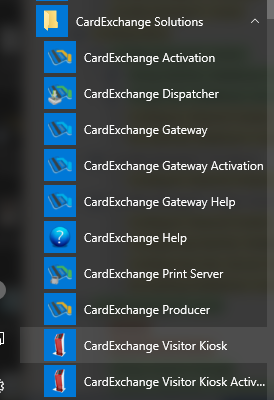
You can run the CardExchange® Visitor Kiosk Client by selecting the CardExchange Visitor Kiosk option in the start menu or by using the desktop shortcut.
