
If you have chosen to use a USB dongle with your license, it is important that the driver of this dongle is installed first before connecting this dongle to your system and activating the license.
In the main page of the Auto Play Menu you can find the menu option Drivers. When you select this menu item you will enter the driver page. Now click on the USB Dongle button to execute the installer:
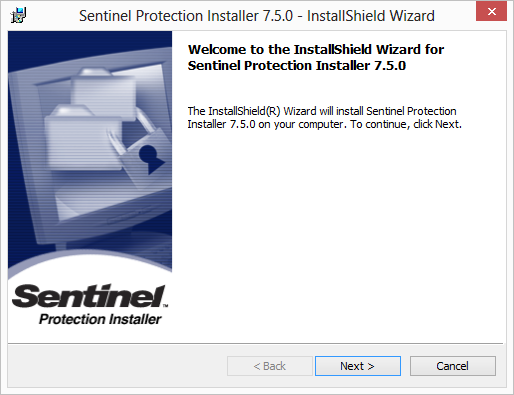
When the installer is started, click on Next to proceed:
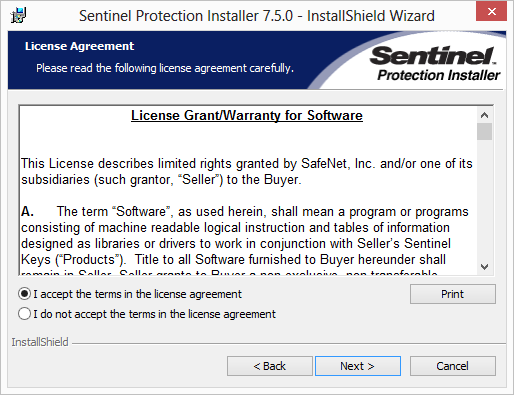
If you agree to the terms of the license agreement, please do select the corresponding option and proceed with Next. If you decline these terms, when selecting the installation will stop and the wizard will be closed after clicking on Finish:
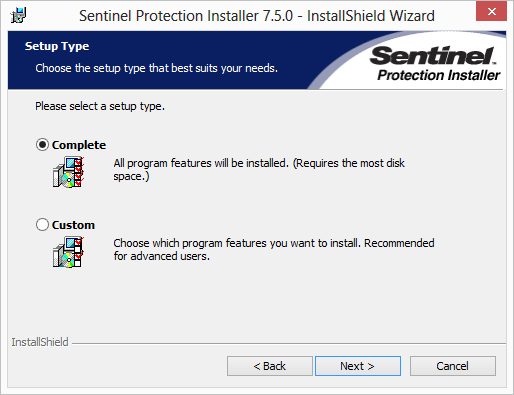
Select Complete as Setup Type and click on Next to Proceed:

Now you are ready to install the dongle driver on your system. Click Install to proceed:
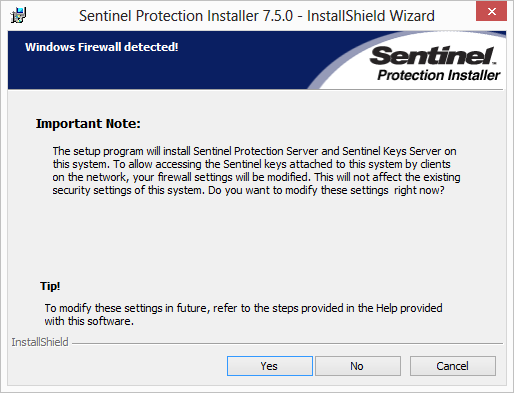
To allow access to the server, the firewall has to be modified to allow this. You can always do this manual later, select No to do so. We advice to let the installer do the modifications to the firewall as that guarantees the correct working of the dongle with the server. Click Yes to proceed:
When the installation is successful you can click on Finish to close the installation wizard.
Now you can insert the dongle into a free USB port of your system and it will automatically install the driver.
