Adding a database connection starts in the Designer. Select the Data tab and in the Connection group select New to start the Database Connection Wizard.

When the wizard opens you click Add to start making the connection.
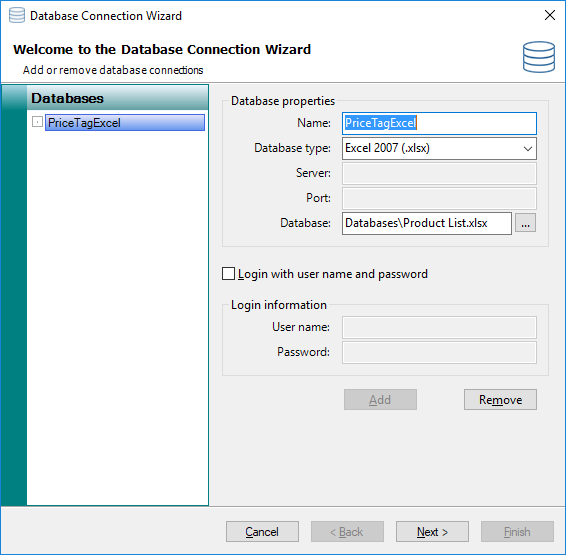
Step 1
Enter a name for the database connection, select the correct database type, and select the database file by typing the whole path with extension into the Database text box or click on the  button to browse to the file location. You can also specify a password if using a password protected Microsoft access or SQLite database.
Click Next to proceed. It is important to know that on the moment you click the Next button, the wizard will check the connection with the file or database. If all is correct, the wizard will proceed to the next page. If there is a problem then the database error will be shown.
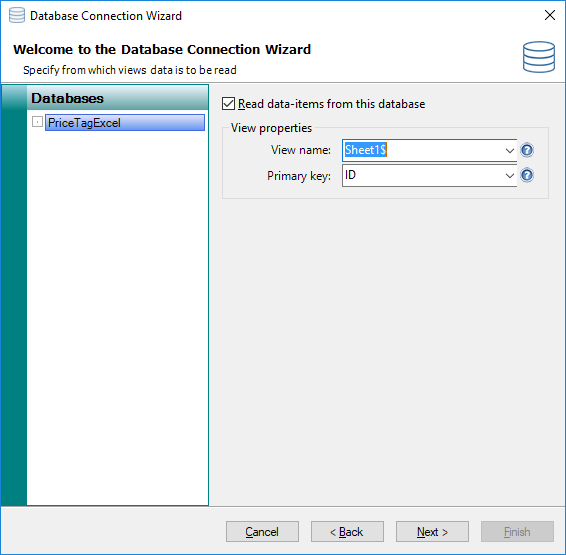
Step 2
Select the check box 'Read data-items from this database', select the corresponding sheet name in the case of Excel or table name in the case of Access or SQLite in the 'View name' drop menu, and select the 'Primary Key' from the drop down menu. The Primary Key is the unique identifier of the record in your database and must be unique. Click Next to proceed.
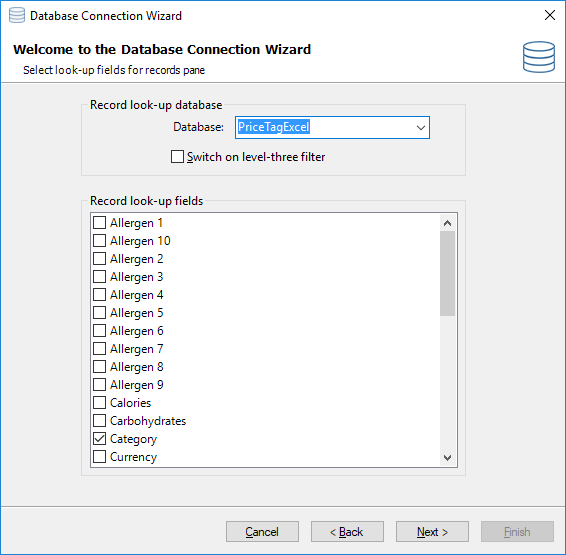
Step 3
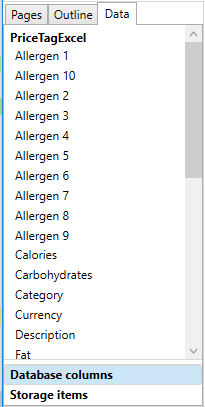
In the Main Interface of CardExchange® PriceTag you find the Records pane showing all the records available in the database in a so called data grid. In this page of the wizard you select the columns from the database that you want to show here. At least one database column must be selected. Click Next to proceed with the next step of the Wizard.
Step 4
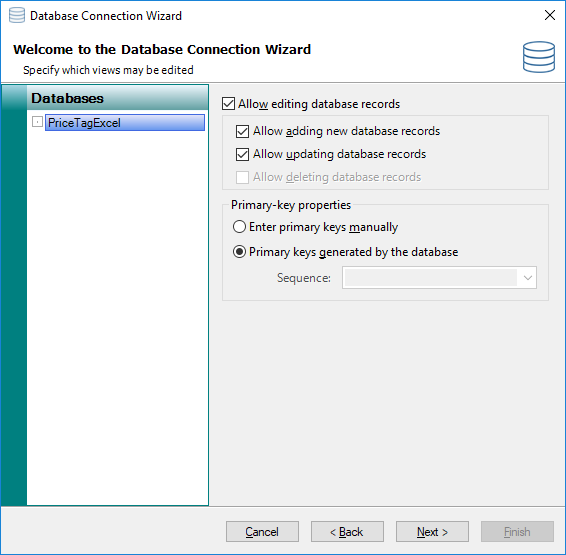
In this page of the wizard you can set the rights to edit the connected database, or in this case, the connected MS Excel file. Click on the check box 'Allow editing of the database records' to enable this functionality. Separate from this selection you can set that the user is allowed to add new records to the database, update existing records and delete records.
In this case deleting is not available because deleting records in an MS Excel file is not supported.
In the Primary-key properties section you can select to enter the primary keys manually. If you are not using numbers as primary keys, this check box needs to be selected but for each new record, a unique primary key needs to be entered by the user. We advice to use numbers and leave the check box as is by default, primary keys are generated by the database. Normally real databases support this functionality itself, but because MS Excel is not a database, we have embedded a unique number generator so your primary keys are taken care of by CardExchange® PriceTag. Now click Next to proceed.
Step 5
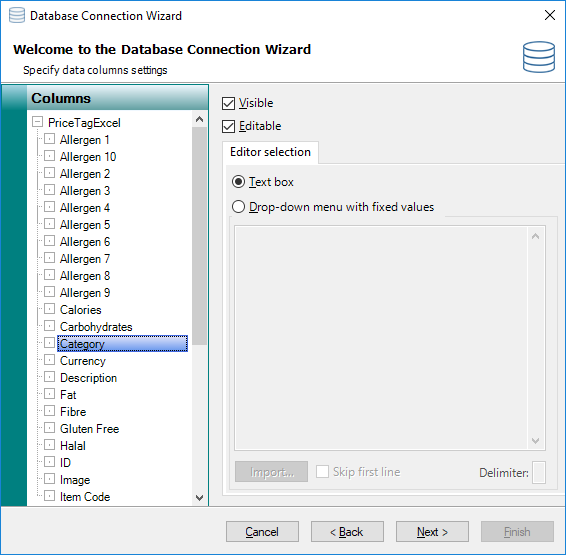
In this page you can set for each individual database column, whether is should be visible, and if so whether is should be editable by the user in the Database record window of the main interface. You can also create drop-down menus that can be selected from in the Database record window, this is discussed further in the Drop Down Menu's section of this help file.
Step 6
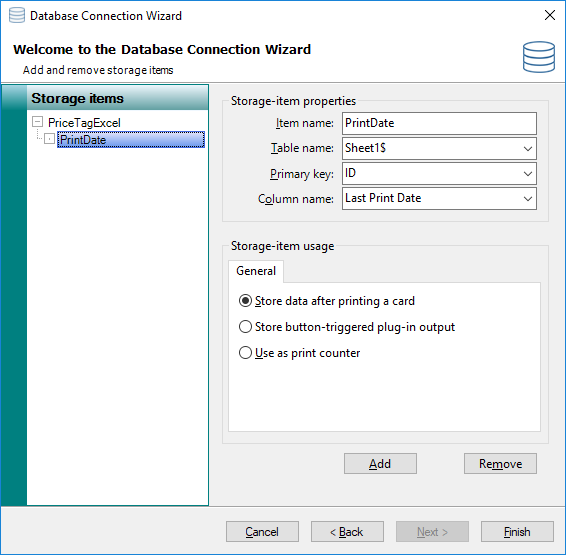
In the last page of the wizard you can create storage items to automatically store information back into the connected database at print time. This is discussed further in the Storage Items section of this help file. Once done, click on Finish to complete the wizard.
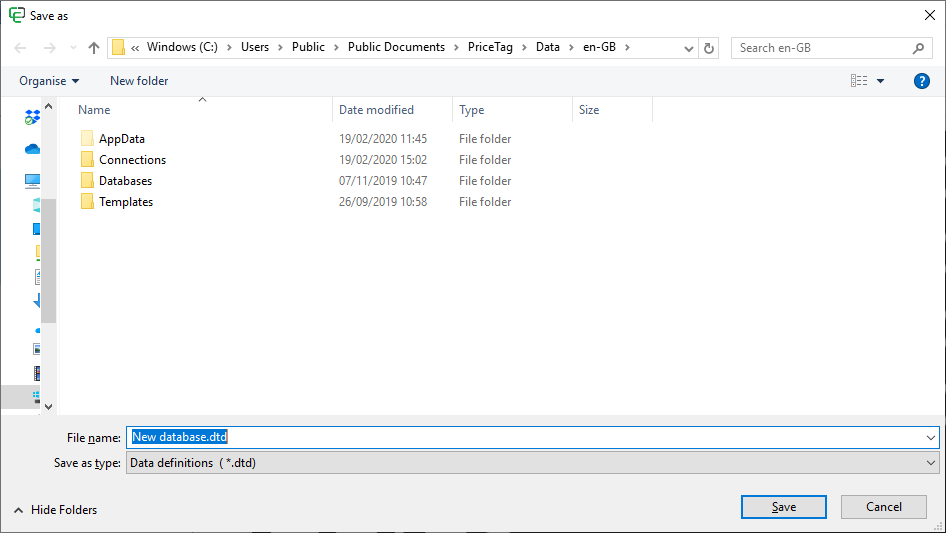
The last step is to give the Database connection a name, these settings are stored in a Database definition file (.dtd file) and can be reused by multiple templates if required.
The default location is the Data Folder of CardExchange® PriceTag and we advice to store your data in this location so it is all in one place.
Now in a few simple steps you have created the connection to your MS Excel file and now the columns are available in the Designer for adding to your design.