
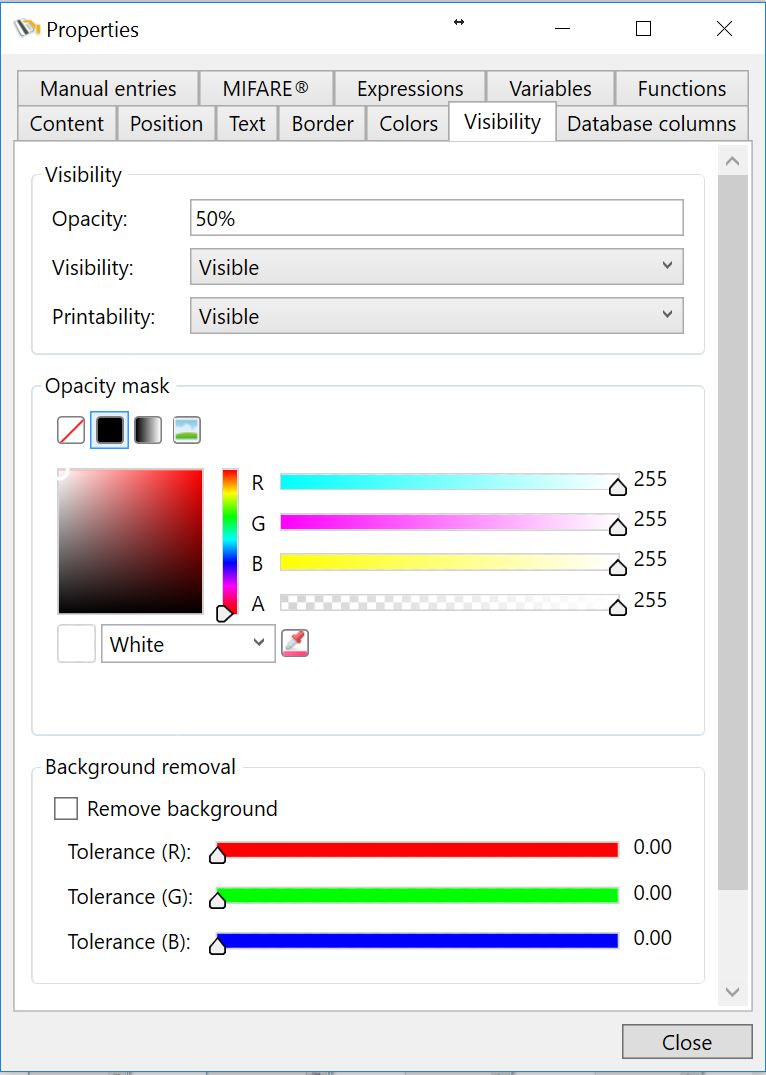
The Visibility tab contains three separate group sections:
•Visibility
•Opacity mask
•Background removal
Visibility
In the visibility group you can set the opacity of the image on the Page design. This can be used to create ghosting images. For example, as shown in the screenshot, see the differences in the images shown below:
|
|
No Opacity |
Opacity 50% |


Besides setting the opacity for the image, you can also select the visibility of the image as well the printability. Each drop down menu offers three selections:
•Visible
•Hidden
•Collapsed
Opacity Mask
With the Opacity mask you can do some great and advanced stuff. For example, we have created an opacity mask using the gradient tool and the background color orange.
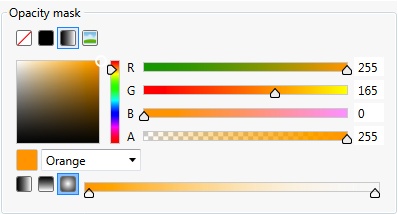
Now take a look at the photo images below. On the left you have the original and on the right the photo with the opacity mask.
|
|
No Opacity |
Using Opacity Mask |

But you can also load images or use solid colors.
Background Removal
CardExchange® Producer offers advanced background removal. Use the sliders to define the correct removal. You can also enter the values directly into the text boxes right from each color slider. For example, we removed the background based on the slider configuration below.
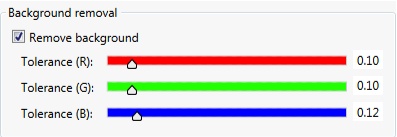
Now take a look at the photo images below. On the left you have the original and on the right the photo with the background removed.
|
|
No Removal |
Background Removed |


It is important to realize that the result of the background removal depends on the quality of the image and the used background. Always try to use real blue or green backgrounds when taking photos as this offers the best removal result.
