
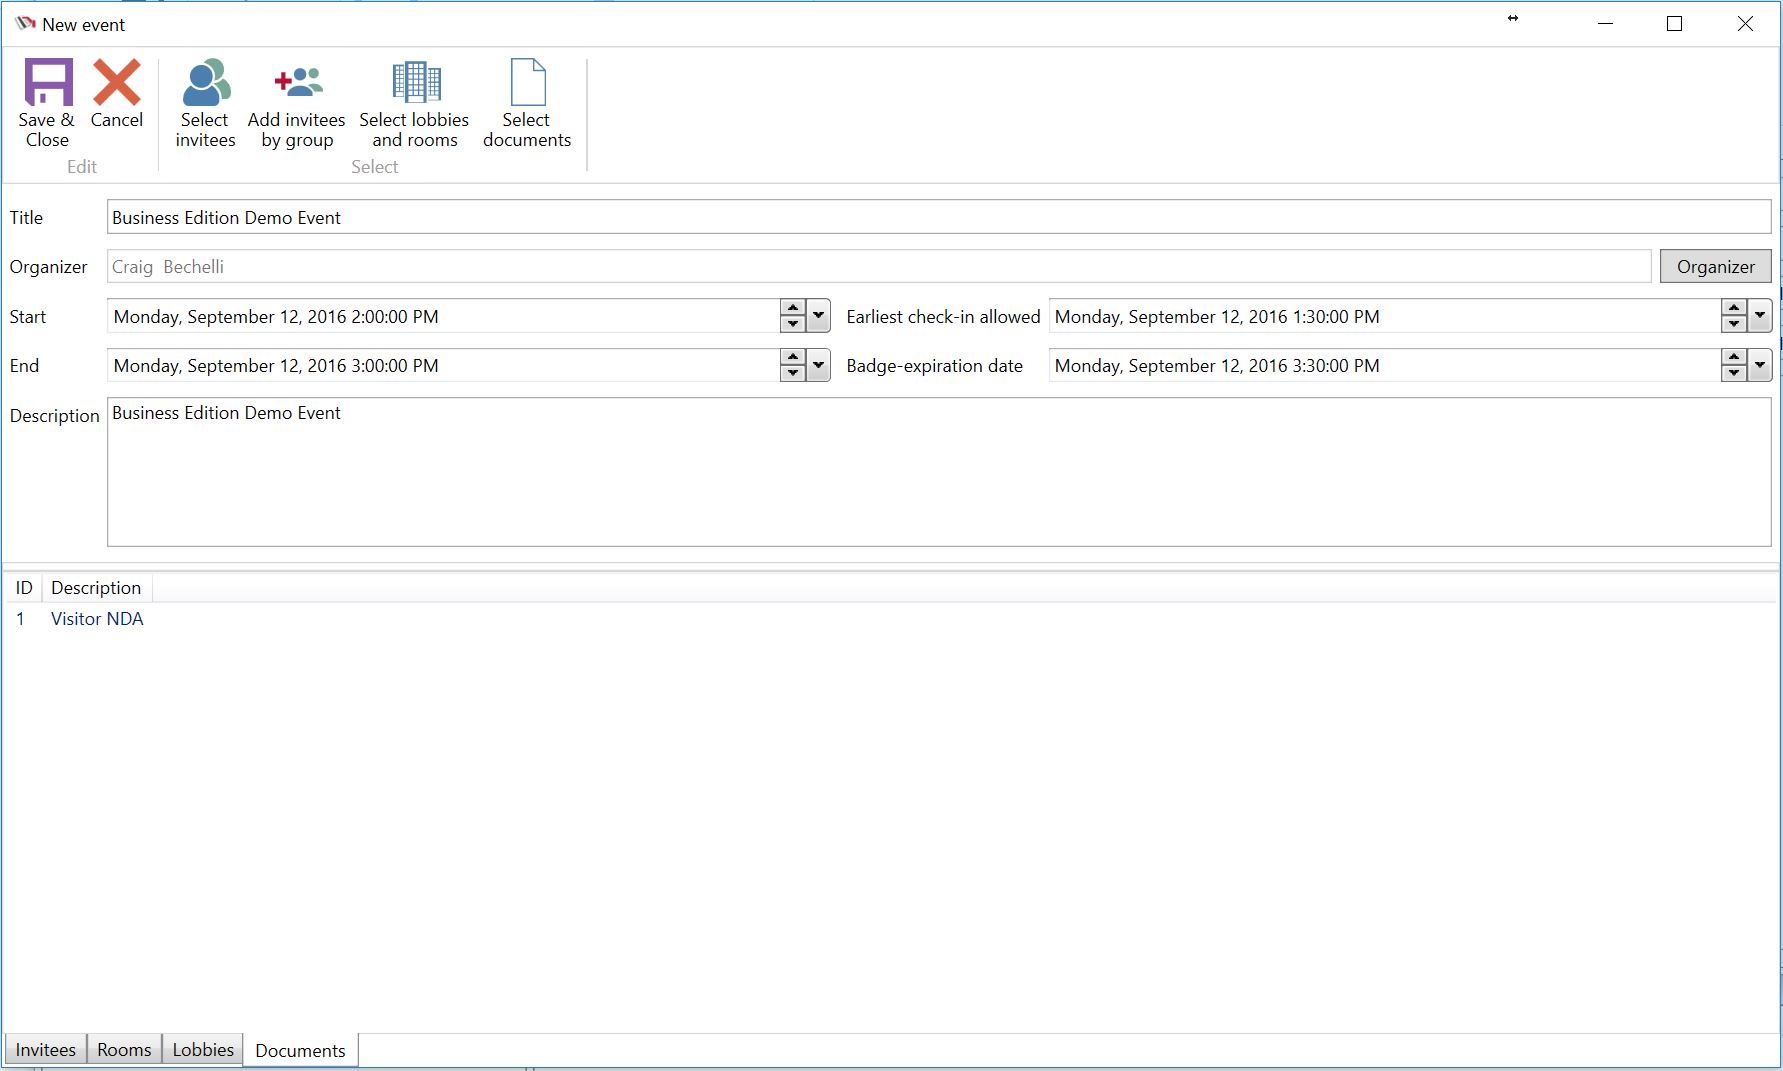
Open the “New event” window by heading to the Visitors view -> New item -> New event (alternatively, go to the Events view -> New event). This brings up the “New event” window. If any documents have been configured as “Required by default”, they are automatically linked to the event and displayed in the Documents list.
1.To add documents to this event, click the “Select documents” ribbon button. This brings up the document selection dialog window.
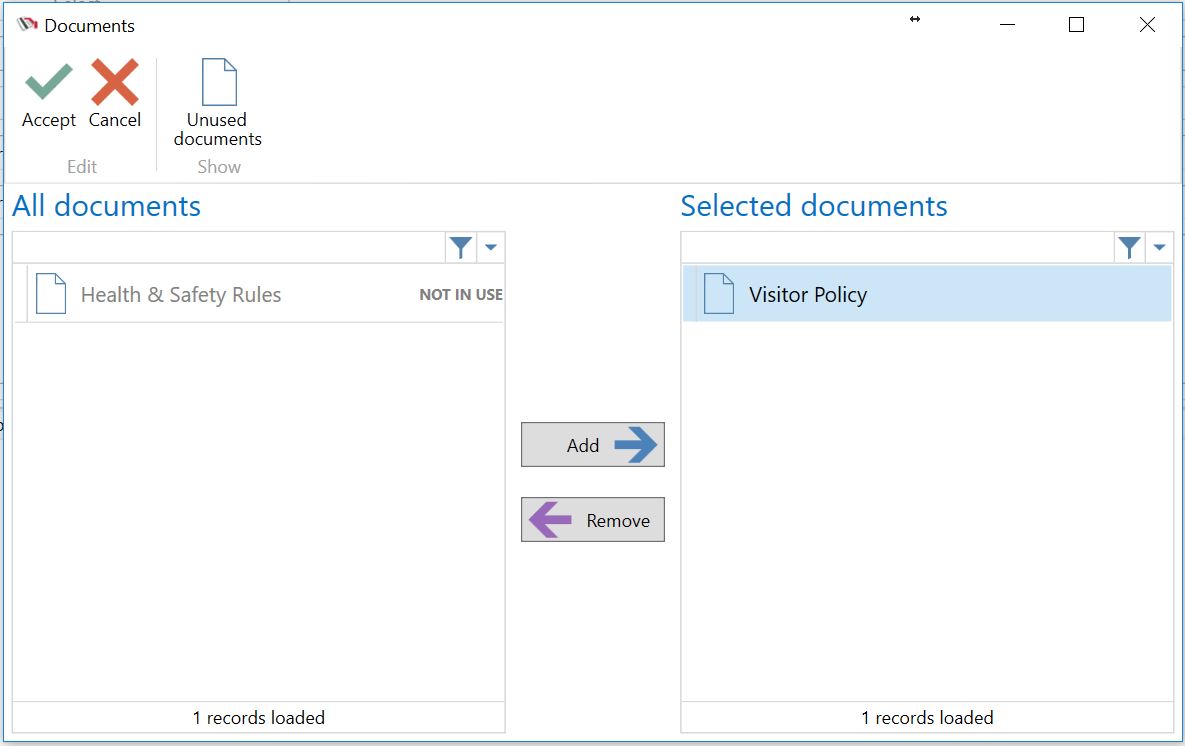
a.To link a document to this event, select the document in the “All documents” column and click the “Add” button. The document is now moved to the “Selected documents” column.
i.Note: Documents not configured as “In use” will not show up in this window. If a desired document cannot be found, make sure its “In use” field is checked in the “Edit documents” window (refer to “Importing and configuring documents”).
ii.Note: Documents configured as “Required by default” will automatically be displayed in the “Selected documents” column. Additionally, they will be marked with the text “REQUIRED”. These documents cannot be removed from the event. Attempting to remove a required document from the “Selected documents” column will result in a popup warning, and the document will remain in the “Selected documents” column.
b.Once the desired documents have been added to the “Selected documents” column, click “Accept” to save the current selection or “Cancel” to discard it. The Documents list in the “New event” window is now updated to reflect the changes.
2.Continue configuring the rest of the event details and click “Save & close” when finished.
