
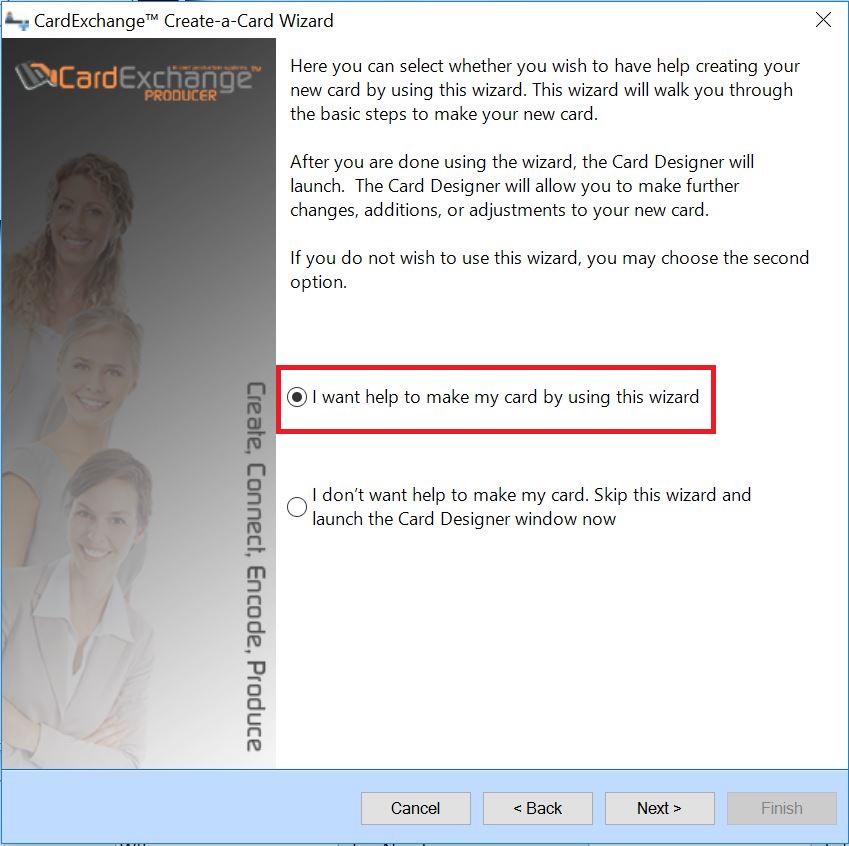
Using the wizard is in most of the cases the best way to go. From this point, in seven clear explained steps you will be heading towards a complete designed card-template including or not including database connections, Barcodes, backgrounds, logo's, etc. Let's proceed and click on Next!
Step 1
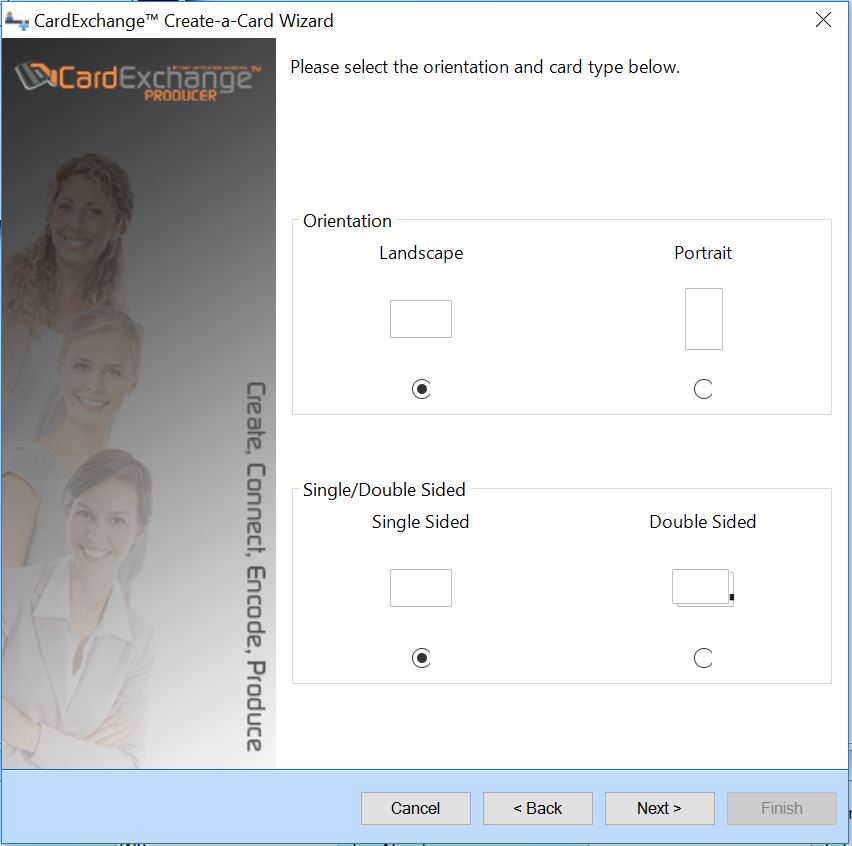
In this page you need to select if you want to create a single or a double sided card-template. Also the orientation needs to be set. Choose Landscape or Portrait. When done, click Next to proceed.
Step 2
In this page you need to select if you want to connect to a database or not. In this Help file we are using the connection to the database option.
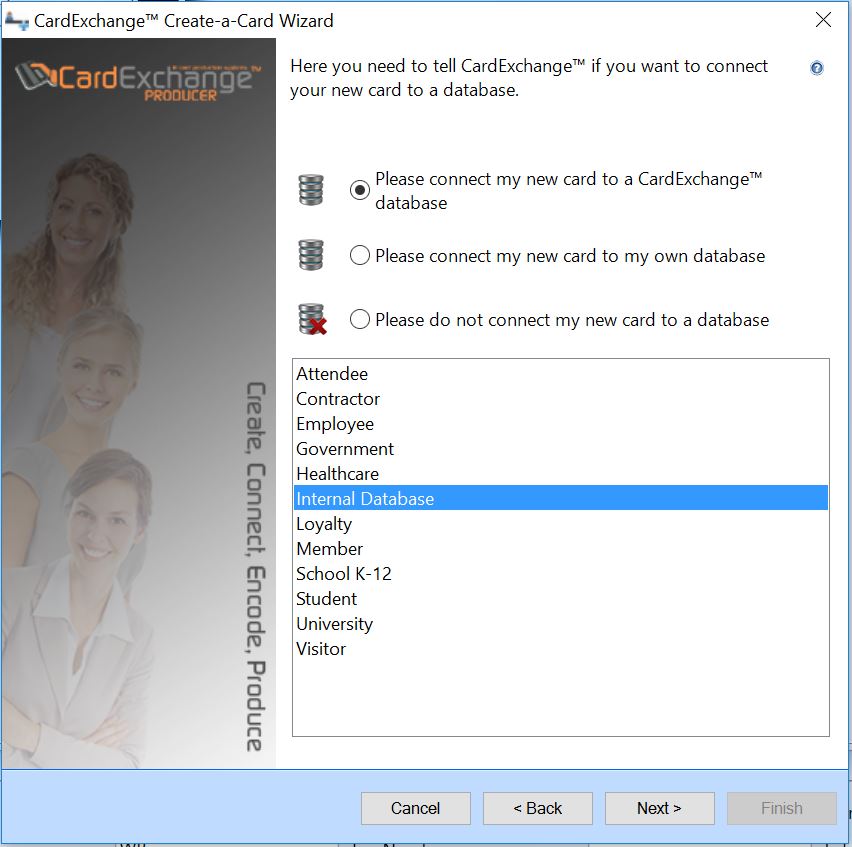
CardExchange® Producer offers unlimited ways to use databases, multiple databases, etc. In the wizard we are offering a selection of basic database templates you can choose from for MS Excel files as well for MS Access. For using MS Access database you need at least a Premium Edition. If you want to use one of the provided database templates, simply select one of them. Of course it is also possible to add your own database connection and make all fields available in the wizard. The whole adding of a new database connection is explained in the "Add Database" section of this Help file. When you are done, hit Next to proceed.
Step 3
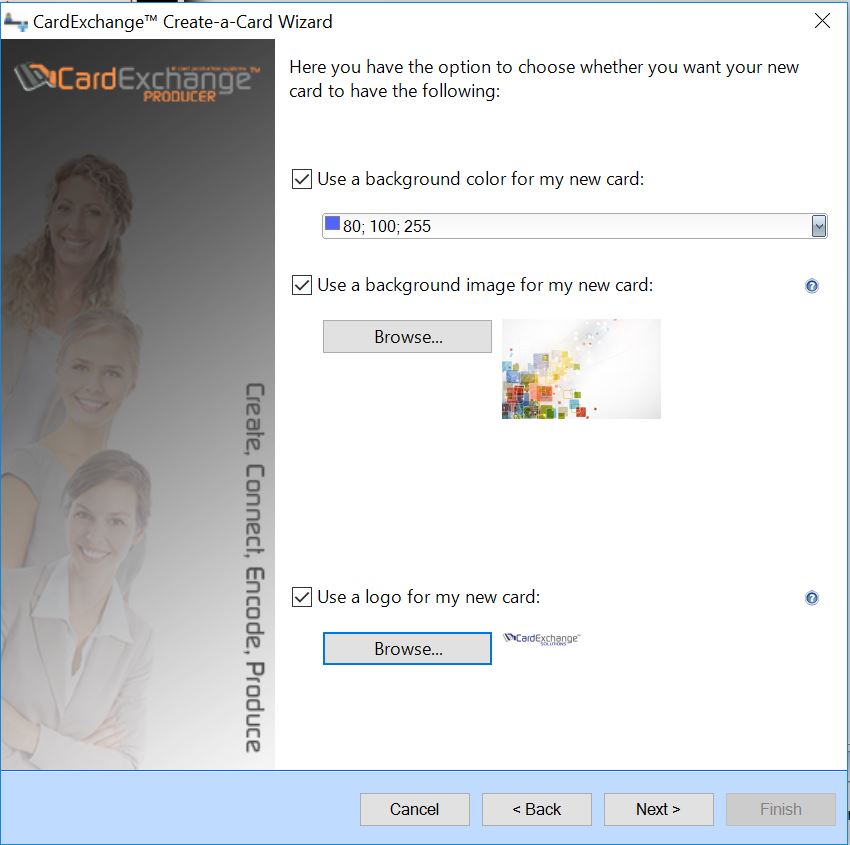
A card always looks better when using a background color or a background image. In this page of the wizard you can choose to have one of them or or both. Select the color needed from the drop down menu or click on Browse and select the background image you want to use.
Who doesn't want one... a logo. Here you can also select the logo that you want to add to your design. Just click on the Browse button, select the logo you want, and click on Next to proceed.
Step 4
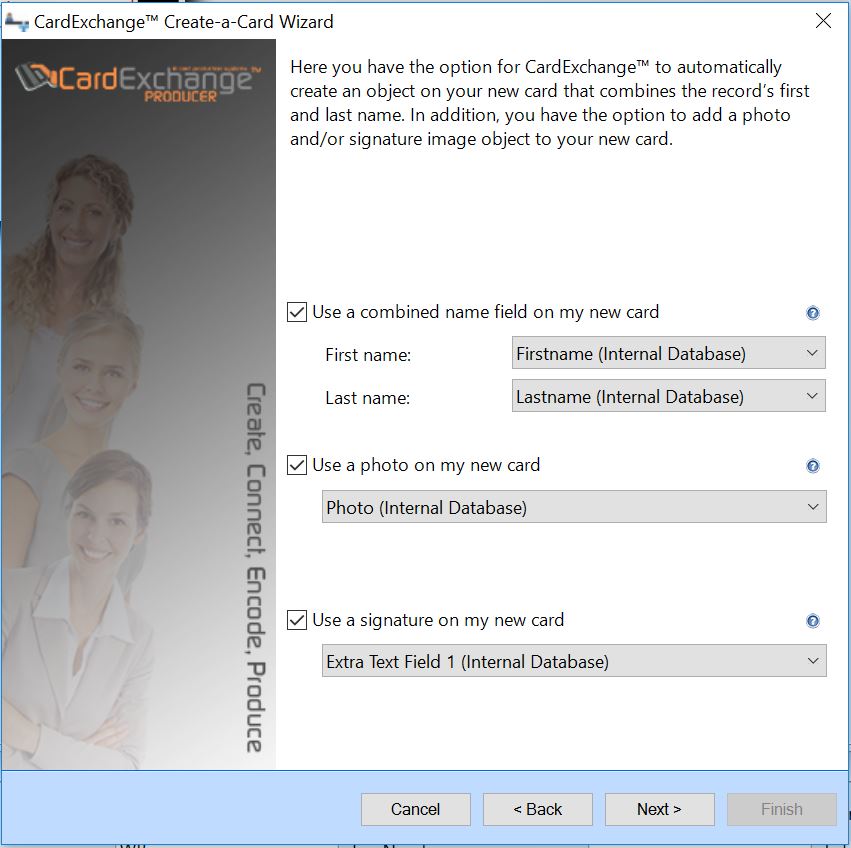
It is usual that you would want to show a name on the card design, here you can choose to have a combined name field where you just need to select the First name and Last name fields from the database.
Photos and signatures are important objects for your design. In this page of the wizard you can also select to add a photo or signature to your design. For using signatures, a Premium or higher edition is needed. When you select Add a photo, you can select the referring database column from the drop down menu. If you are using a connection to an MS Excel file, using a photo will always be a "Point-to-image-file" connection as MS Excel cannot contain binary photo information. If that is the case, we strongly advice to use a field from the database that is really unique like the ID field. Keep in mind, names are not unique! Proceed with Next when you have made your selection.
Step 5
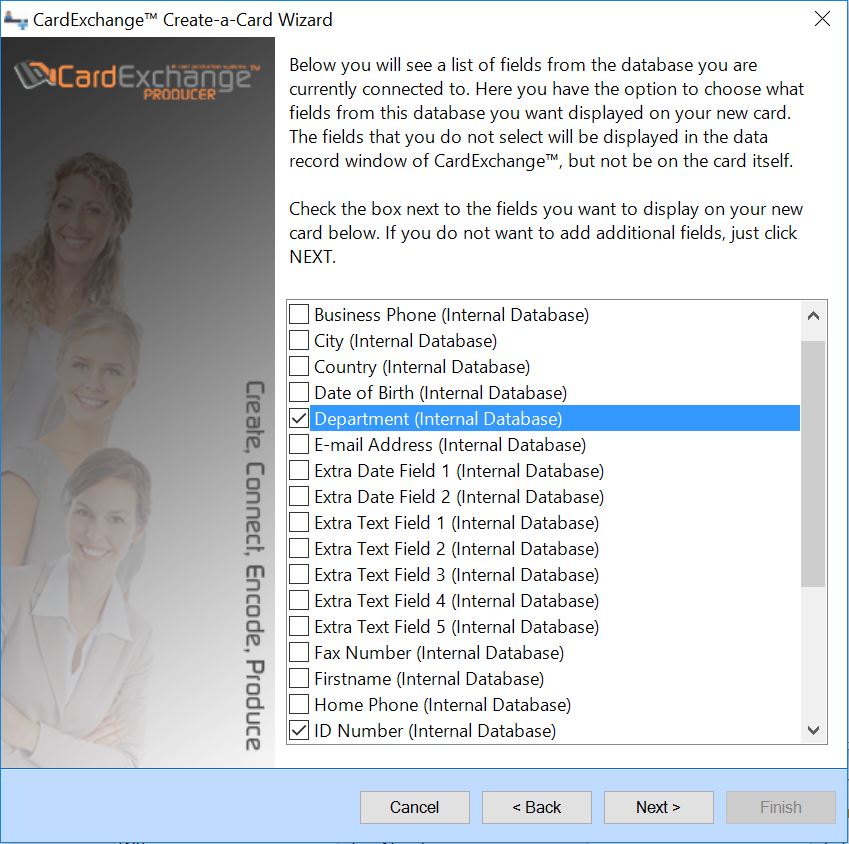
On this page all the available columns are made available for you to select. To add the field to your design, just click on the check box before the column name.
When all the needed columns are selected, proceed by clicking Next.
Step 6
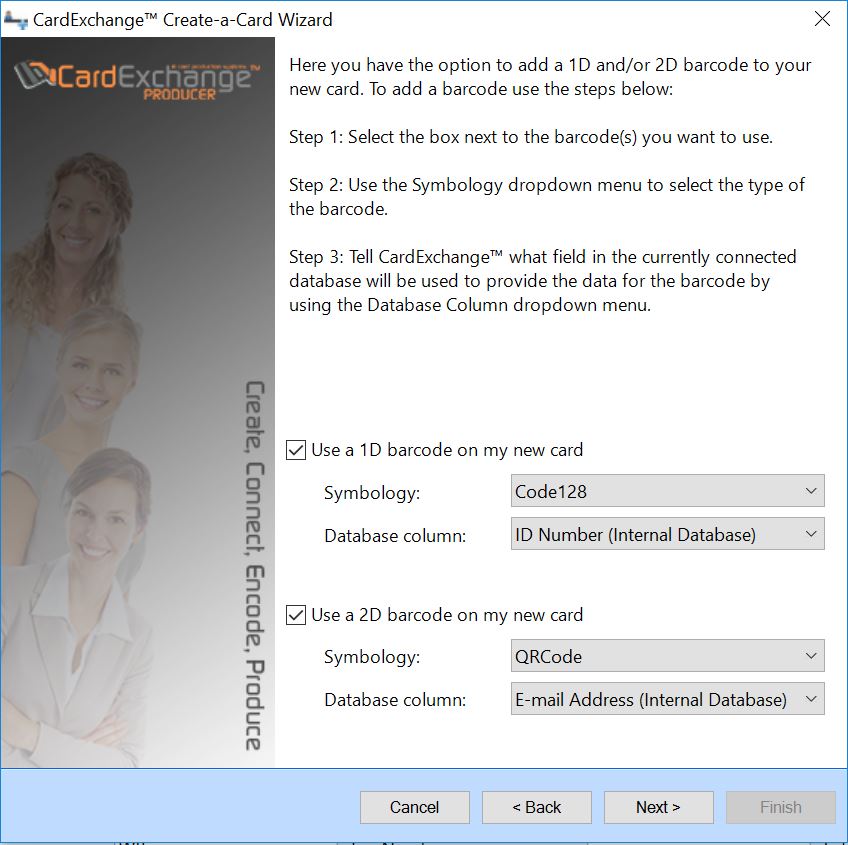
1D Barcodes are available starting from the GO Edition and 2D Barcodes are available starting from the Premium Edition. We offer a large variety of Barcodes including all the standard symbologies.
The Barcode symblogy can be selected from the drop down menus as well as the database column that contains the information. Last step to take, click Next to proceed.
Step 7
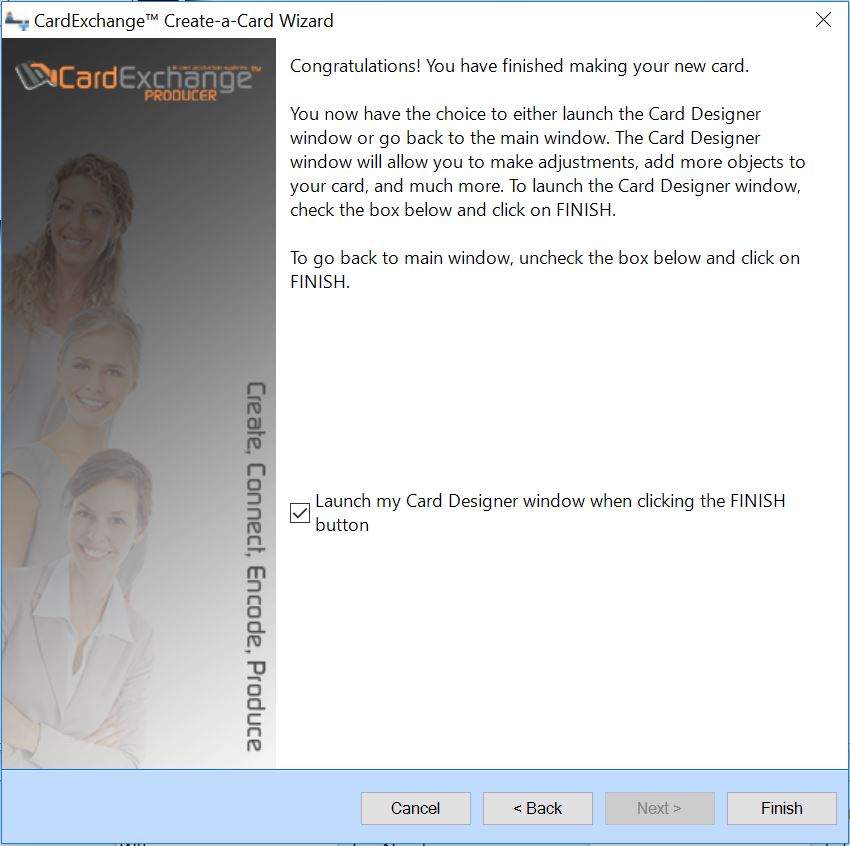
CardExchange® Producer has now all the information to generate the card-template and as soon as you click on Finish, the template will be generated. If you have the check box selected, the Designer will open offering you the possibility to make adjustments to the created design, if not, the card will be directly show in the Main Interface and the database, if applicable, will be loaded and shown. And that's all she wrote.
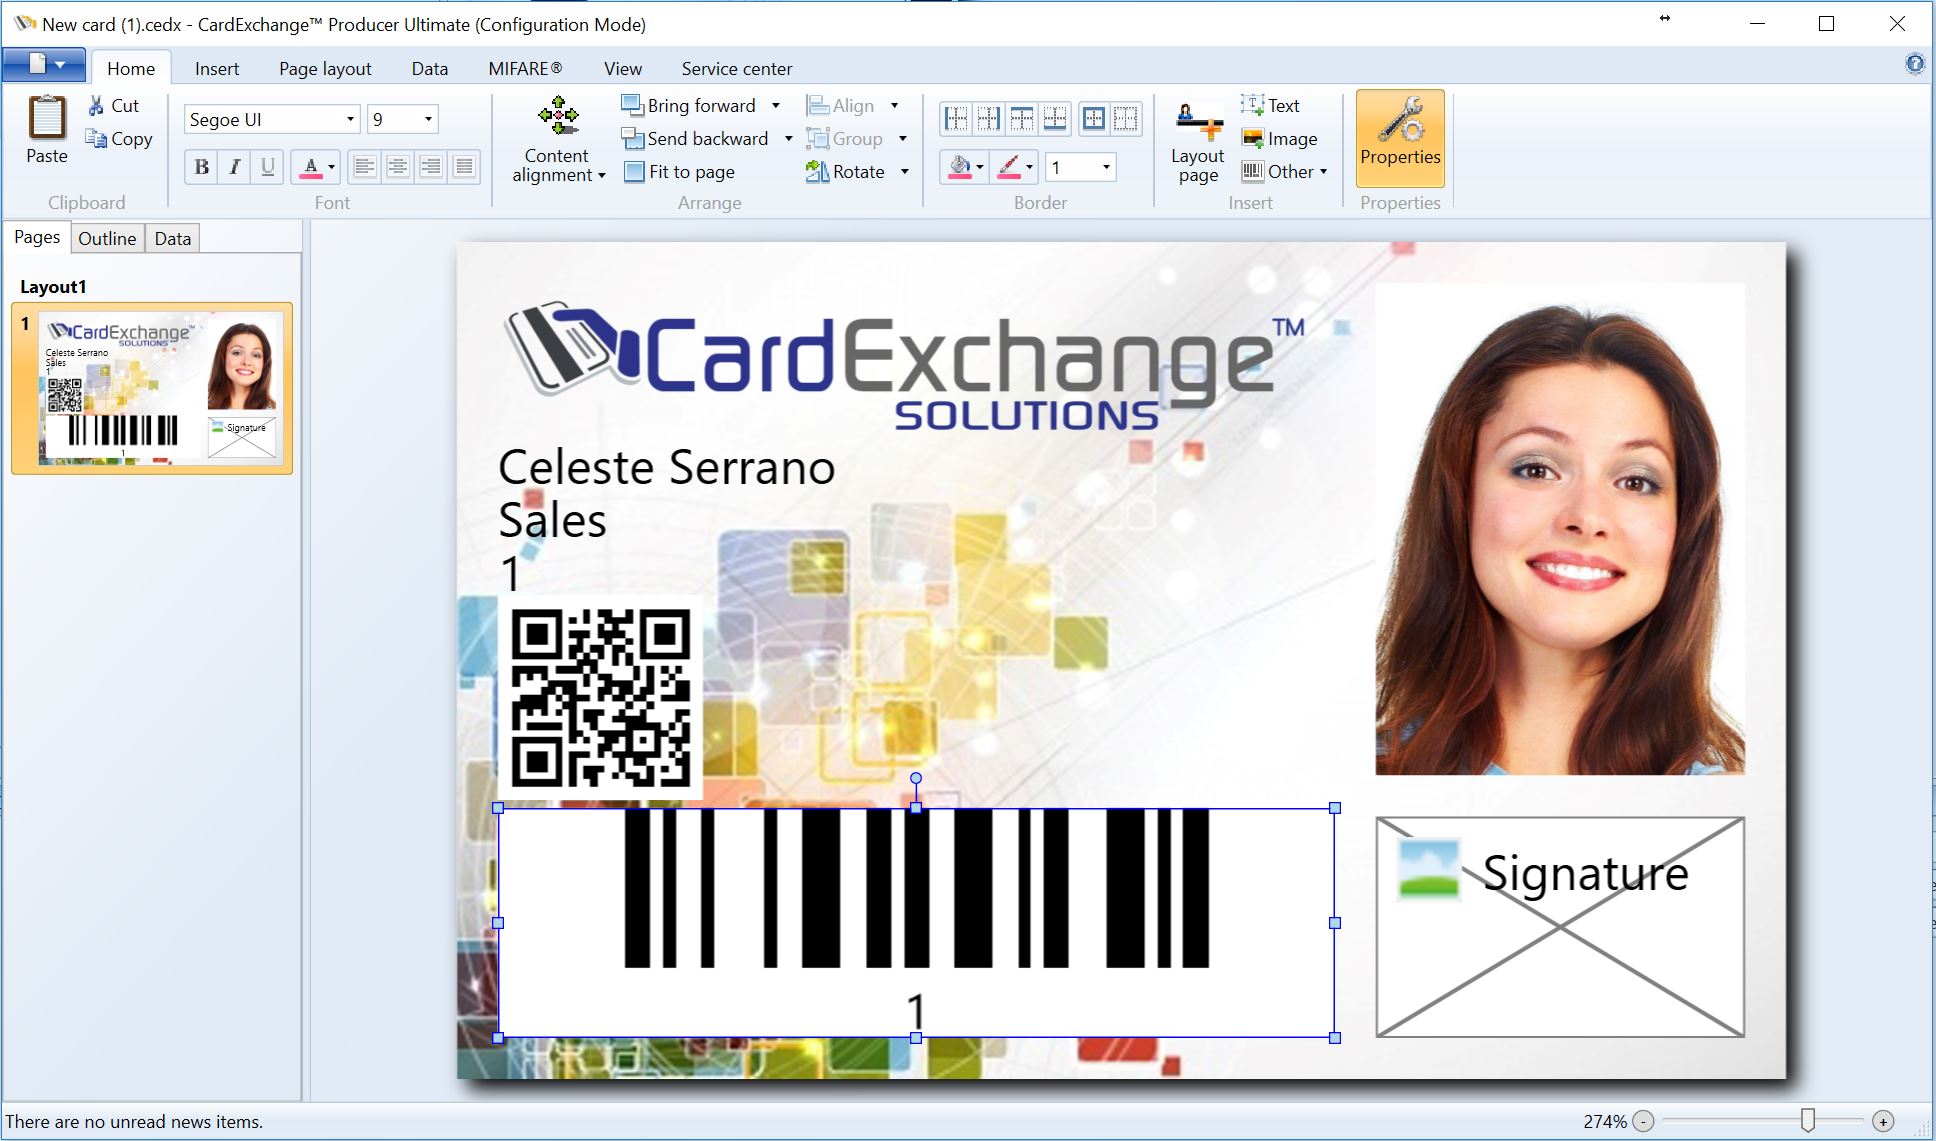
More information about editing the design can be found in the "Using the Designer" section of this Help file.
