
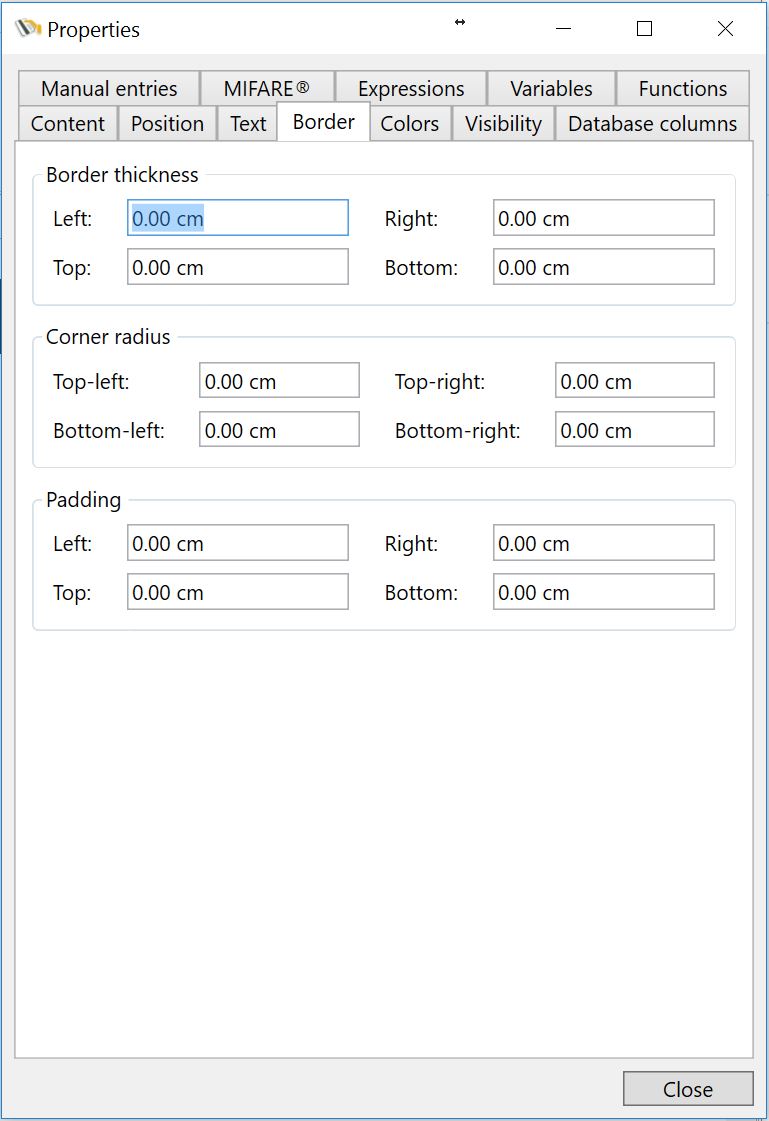
In this section of the Properties Window you can set the properties for the borders of the objects. In the first group you can define all the values for the Border thickness. For example, when adding a rectangle object to your Page Design, you can select the border thickness from the Home menu in the Border section:

You can also enter this directly in the Border Thickness section of the Border tab. This is handy if you need to set specific values provided by your customer.
For example, we add a photo object on the Page Design and set the values for entering to pixels in the Options section of the View tab. This object looks like below:

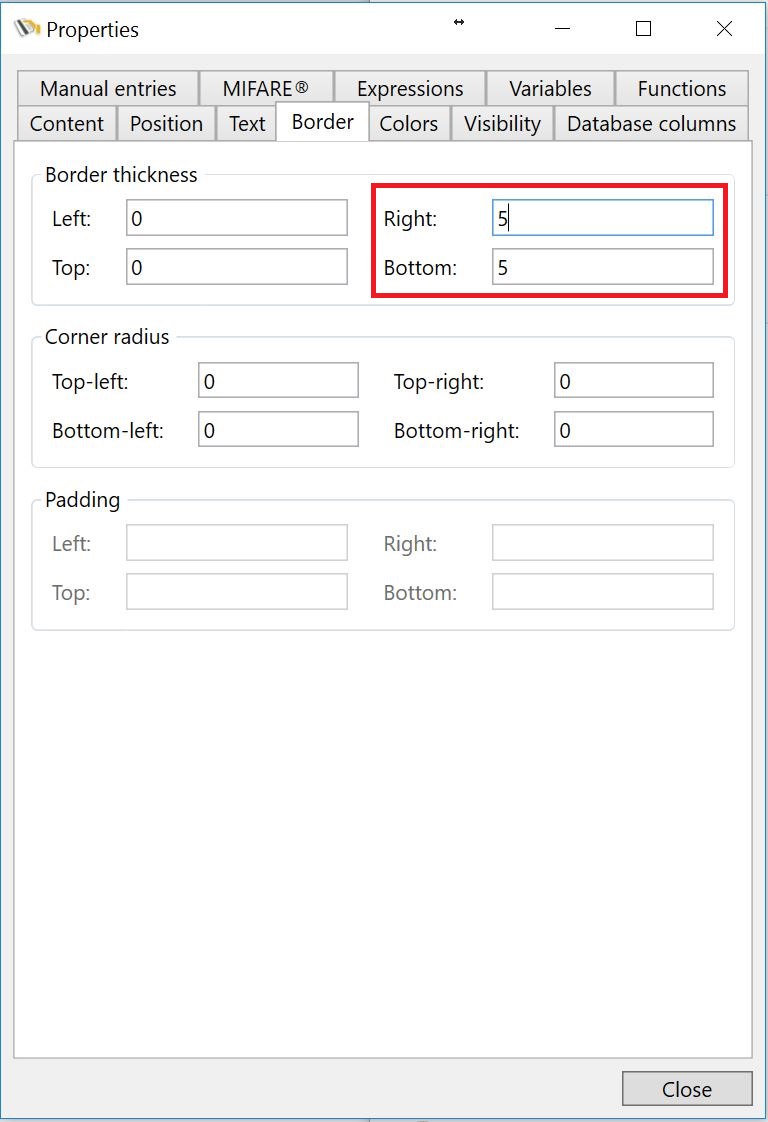
Now we set the Border Thickness to 5 pixels for the Right and Bottom:
Now the photo object will look as below:

Now you get totally fancy by combining this with the Corner Radius. For example, we set the Corner Radius for the Top-Left and the Bottom-Right to 25 pixels and see the result below:

This can be done with all existing objects available with CardExchange® Producer. It even can become more advanced if we are combining the objects borders with colors and backgrounds. More about this in the Colors section of this Help file.
Last but not least, when using Text Objects you can use padding. Padding is the space inside the object and is therefore not the same as Margin as that is the space outside of the object.

Text Object without Padding

Text Object with Left and Top Padding
