
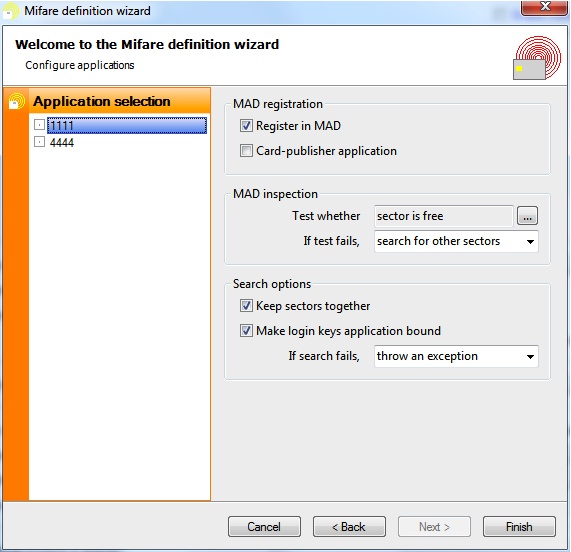
The last wizard page is only visible when reading and updating the MAD automatically. On the left hand side the user can select an entire application and then define application-specific settings on the right hand side. The first option determines whether the application should be registered in the MAD. Registration can be done for both writing and reading applications, although the latter case is somewhat awkward. At most one of the registered applications can be designated as card-publisher application. If this is done, a pointer the first sector of this application is written to the info byte in sector 0 block 1, as specified by the MIFARE® Classic protocol. Otherwise, the info byte will not be modified.
For each application, various tests can be performed on the MAD before any data item is read or written. If the test fails, the user can choose to throw an exception, to skip this application or to search for sectors that do fulfill the requirements. If the latter option is chosen, the search options in the second block have to be set correctly. If Keep sectors together is checked, CardExchange® Producer will only search for contiguous sectors that fulfill the requirements.
By default, CardExchange® Producer uses the login keys that have been defined for the sector to which the application is actually written. In other words, by default, the login keys defined in the previous screen are sector bound. Generally, this is the desired behavior when writing data to empty sectors, because in that case the keys are known for each sector individually, provided that the sector is still free. When reading an application, the login keys are usually application bound, that is, it is known which keys belong to a the application, but it is not known in which sector that application resides. By checking the corresponding check box, the login keys can be made application bound. Note that the information written to the sector trailer, including the new key values, is always application bound. If an application is written to another sector than specified in the definition, the trailer data will also be moved to the alternative sector.
When clicking on Finish, the wizard will prompt whether you want to hide the keys.
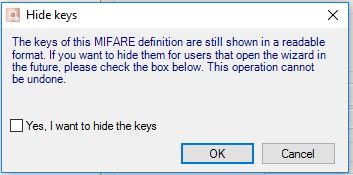
If you check the box and click ok, the keys will not be readable anymore the next time you open the wizard. We recommend waiting with hiding the keys until after finishing the test phase, when you are sure that all keys are correct. Once the keys are hidden, they CANNOT be made visible anymore.
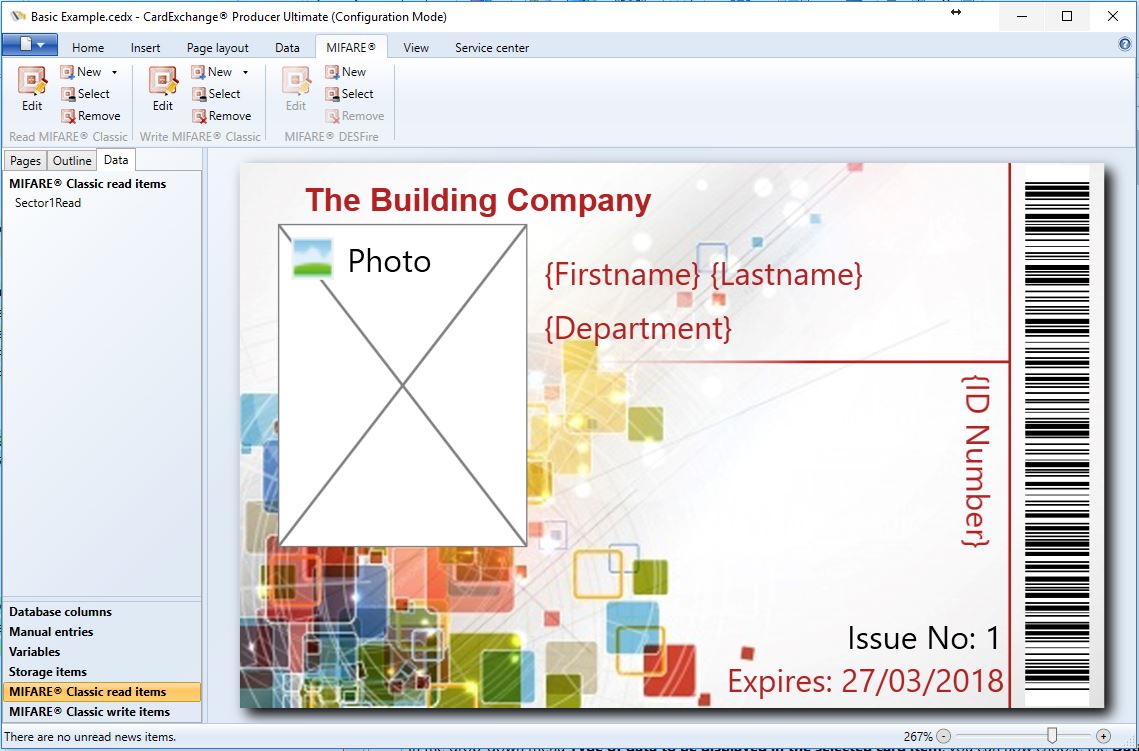
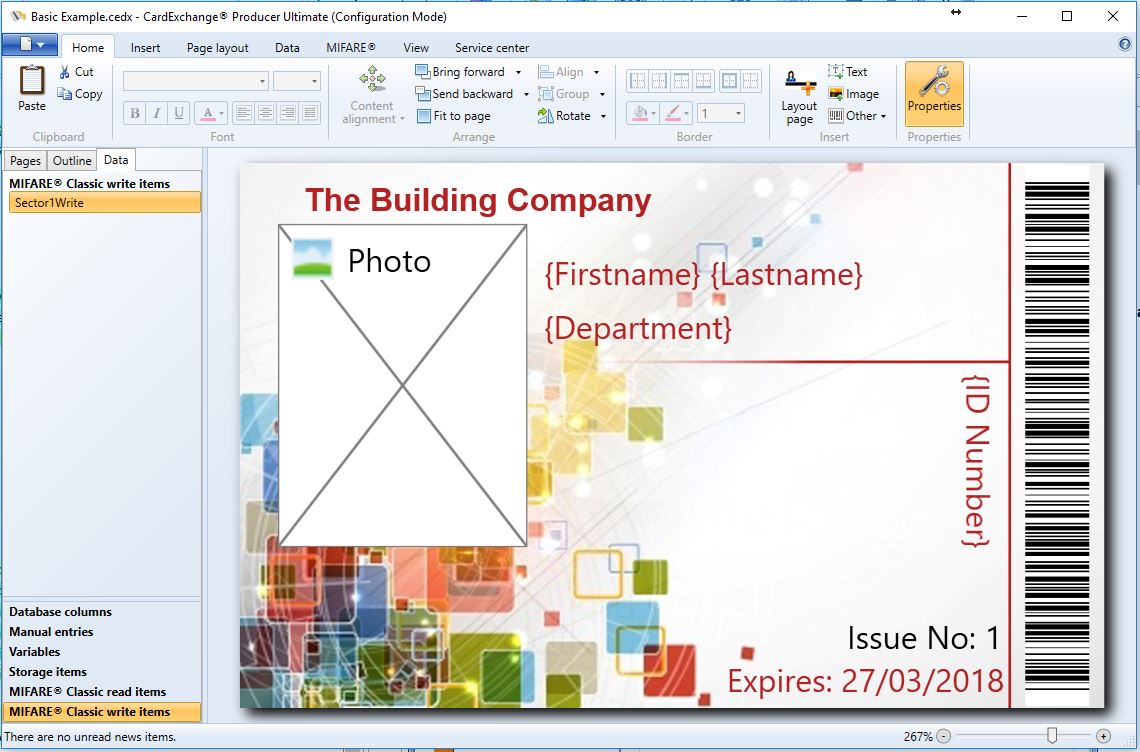
It is still necessary to map the data of the Data Items to database fields, card objects, storage items, etc. This can be done under the data tab of the explorer menu in the card designer and we refer you to the corresponding section for more information. Once your Classic definition is configured, the Data Items will be available in the data tab of the explorer menu, as shown below:
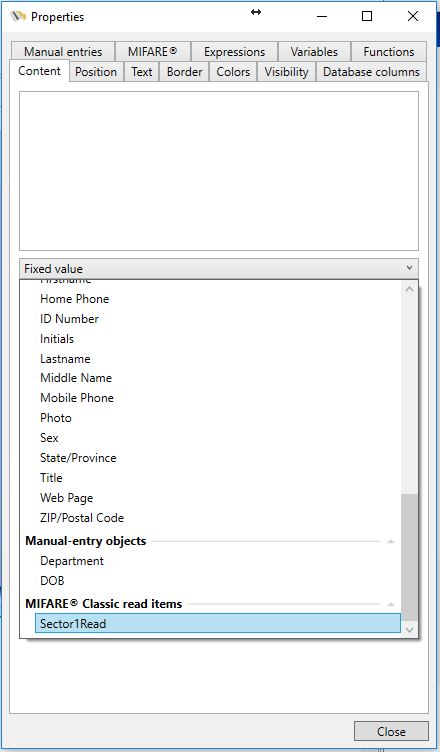
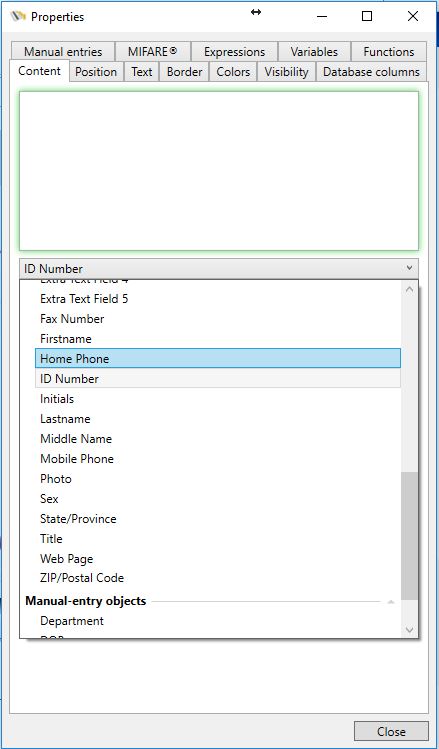
If reading from a MIFARE® card, the MIFARE® read item is available as an object from the drop down under the properties windows.
You can also drag the MIFARE® read item directly onto the card design if it is to be printed.
When writing data to MIFARE® classic cards, the MIFARE® write items are available under the data tab.
If you select the item you wish to setup you can then choose the object to encode into that item from the properties window:
The created definition always contains the possibility to read the MIFARE® Classic UID, it is possible to map this to a text object on the card or to a storage item.
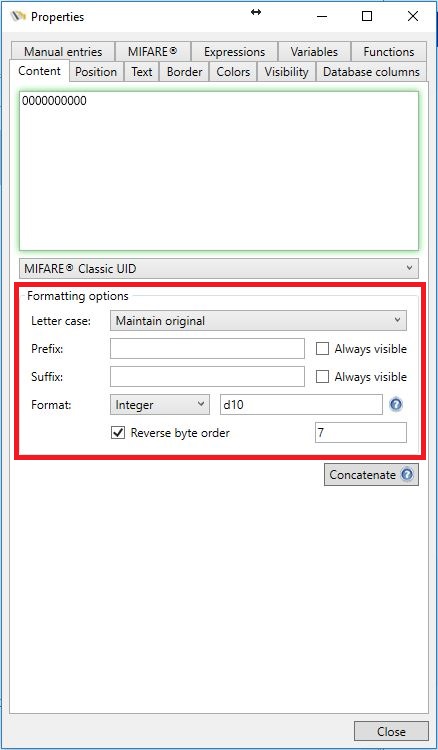
Last but not least, as discussed in Step 2, the UID can be formatted with a Reversed byte UID number. When selecting the MIFARE® Classic UID from the drop down menu you will have access to some advanced Format options as indicated with the red rectangle. For the UID you can assign a minimum number of digits, you can set the UID to Hexadecimal, Reverse the byte order, and set it to Seven-byte UID.
The last option is there because in the past MIFARE® Classic cards had a four-byte UID. When they started running out of unique UID numbers, NXP decided to start supplying Seven-byte UID numbers.
