For using Multiple Database connections a Professional Edition or higher is needed. In this example we will extend the example we created with the SQL Server with a connection to an MS Excel file that is going to be used to report the amount of prints made for a record too. First we need to create an MS Excel file that is going to contain this information. As an example, below you can find a screen shot from an MS Excel created for this example.
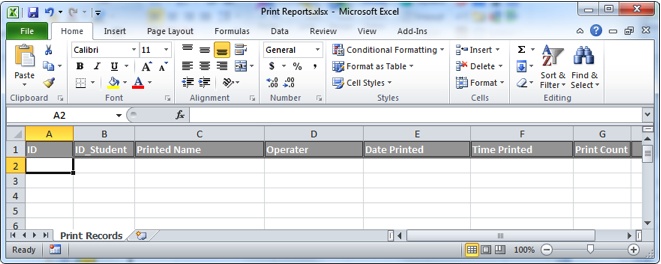
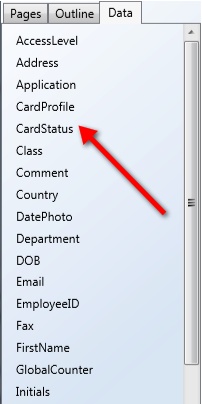
The first row is used for the columns and the following columns are created:
Column Name |
Description |
ID |
Will be the unique field (Primary Key) for this connection |
ID_Student |
This will contain the unique ID (Primary Key) field from the Student Table |
Printed Name |
This field will contain the name of the student printed |
Operator |
This field will contain the name of the operator logged into CardExchange® Producer |
Data Printed |
This field will contain the date the record is printed |
Time Printed |
This field will contain the time the record is printed |
Print Count |
This field will contain the amount of times the record is printed |
The standard sheet name is renamed to "Print Records" and the other two sheets are removed. Of course this is not needed, but makes it more clear what you are doing.
When done, save the created MS Excel file to a location, preferably in the Data folder of CardExchange® Producer. Now we proceed with

Click Edit to start the Database Connection Wizard and open the connection made for MS SQL Server.
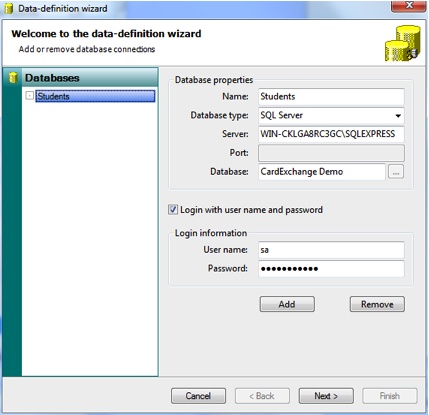
Step 1

Now click on Add to create an extra connection. Enter the Name field information select the correct database type, etc. It is basically the same setup as with the Using MS Excel example. Select the MS Excel sheet you have created for Print Reports and click Next to proceed.
Step 2
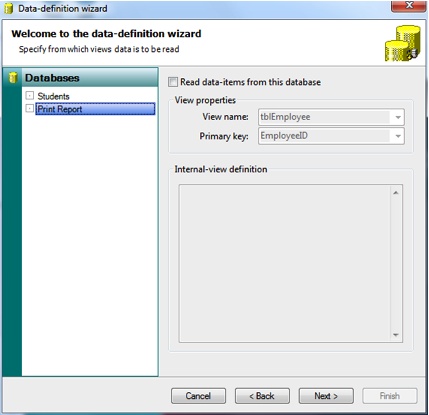
In this page you now see two database that can be selected. What is important to know is that you always read from ONE database only. All other connected databases are for writing only. So in this situation, make sure the 'Read data-items from this database' is unchecked and leave the Students database checked. This also shows why it is important when using multiple database connections, the naming chosen for the connections is important to be clear. Click Next to proceed.
Step 3
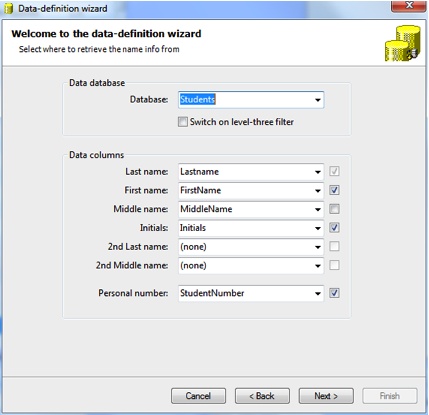
The page where the name information is set does not change and stays the same as in the Using MS SQL Server example. Click next to proceed.
Step 4
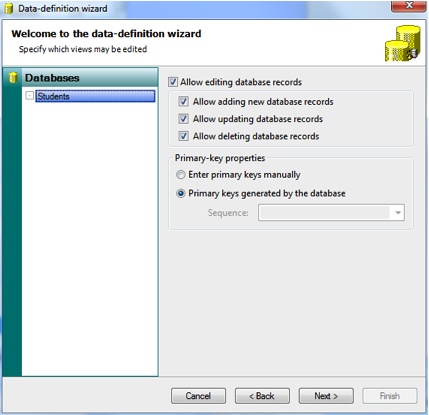
Also this does not change and stays the same as in the Using MS SQL Server example. Click next to proceed.
Step 5
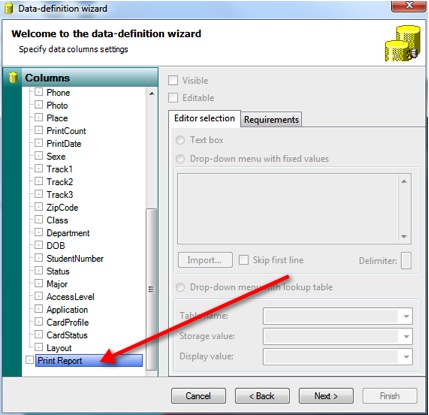
Also this page does not change. Although you can see that the new created database is available, we are only writing back to it so we cannot define any settings for the specific columns. Click Next to Proceed.
Step 6
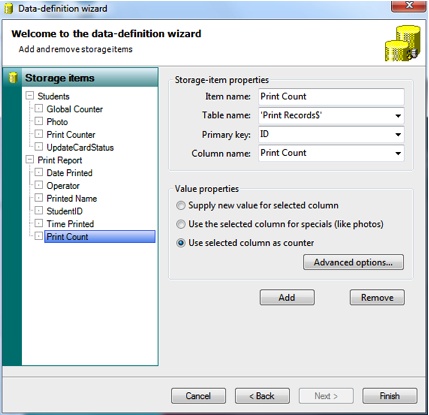
In the Storage Items section you now see the new database connection and you can start adding the items to the connected database. All the information about configuring the Storage Items can be found in our "Using Storage Items" section of this Help file. Now Click Finish...
and save your database connection to a location on your computer. We advice to store your data in the Data Folder of CardExchange® Producer.
In six steps you have created the extra connection and when configured correctly, every time you print, a record will be added to the MS Excel file connected.